Happy Monday and thanks to all of you who visited yesterday for my "Color Tip" post.
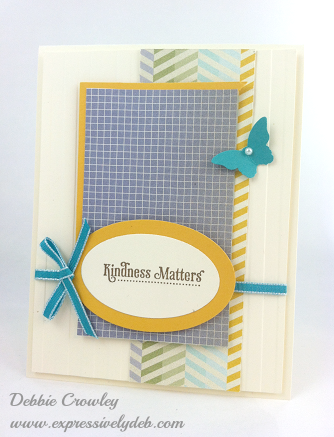
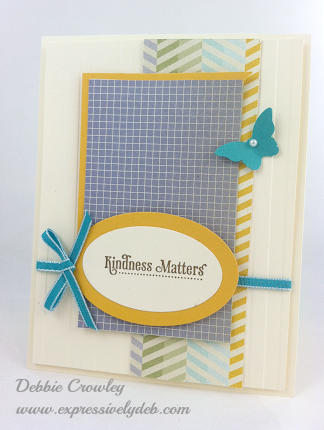
Today, I prepared a little tutorial on Layout. I'll share with you a little "how-to" on how my cards are born. So, no more introduction, here we go… this is the card I created to illustrate getting a good layout.
I chose Stampin' Up!'s Afternoon Picnic Designer Series Paper by design. It had the grid pattern to help you see this layout in the making.
Probably the most important information I could share about layout is the "Rule of Thirds"… The number 3 is a very happy number when creating your card. I use it all the time.
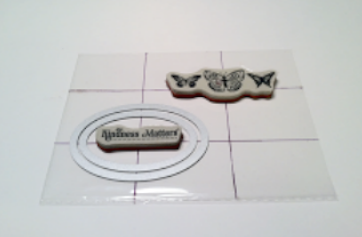
So, when I set out to make a card, I always use my cellophane grid. I made it myself from a clear A-2 envelope. My grid is divided evenly horizontally and vertically to create 9 equal parts – 3 rows across and 3 rows down and this one is for a standard 5 1/2" X 4 1/4" card. You can create "grids" for any size card you want to make.
Below is my initial layout with the stamps placed where I think I want them to go on my card – This is a horizontal layout which I thought I might use;
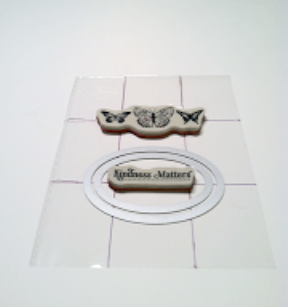
This wasn't doing it for me, so I switched to a vertical layout…Okay, so this is a little better, I like the oval sentiment frame and like the sentiment in the center of my card layout. My sentiment stamp fits nicely in the oval, too. So far, I like it;
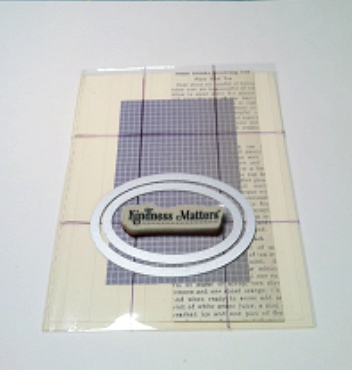
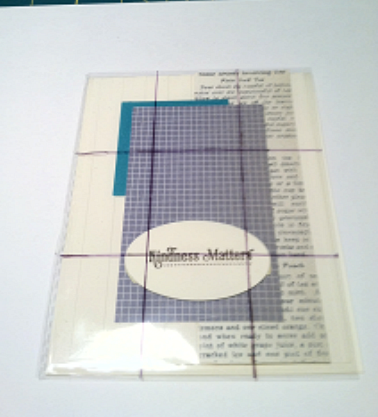
I placed some of the DSP on the grid lines to see how the patterns would look together. I was still okay with the ovals, sentiment and Wisteria Wonder DSP, but not so happy with the newsprint – it needed something more. (Notice that the Wisteria Wonder DSP is aligned perfectly in the center of the card. The grid helps keep everything evenly placed).
I stamped the sentiment onto a cropped oval and added a Coastal Cabana square to the top corner for a little color pop… not so crazy about the whole thing. The sentiment oval and Wisteria Wonder DSP will stay, but everything else has to go.
Can you see how my little grid is helping me layout this card? It's keeping everything in line so I could see what I might have to move and where…
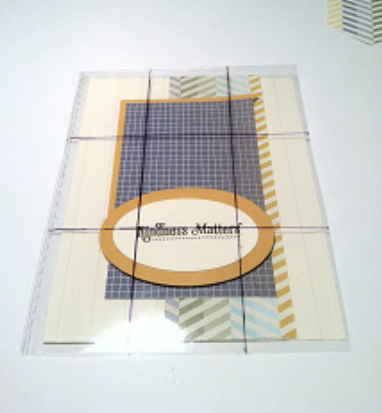
After writing yesterday's blog post on Color, I decided to add a little to this card. "When in doubt, go with a yellow"… so I did, Crushed Curry.
Perfect! The color really added a lot and according to my little grid, everything is aligned nicely. I like it now. My grid is a little oversized, but that's because this is my card layer.
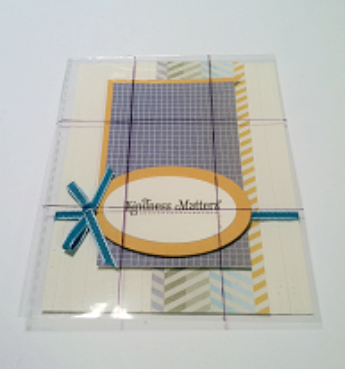
I like the layout, but the card still needs something more… Okay, getting better… everything is in good alignment according to my grid. I like it, but there's no balance to the layout… it's a little too bottom heavy.
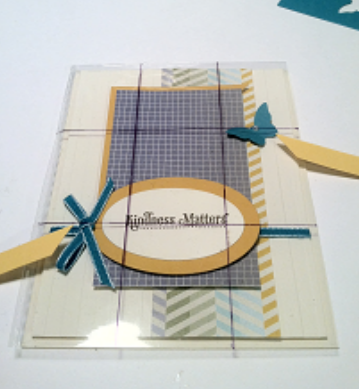
Ahh! Perfect. My little butterfly embellishment is perfectly placed according to my grid. Look at the knot in the bow – it's in the center of the first row on the left vertically and in the center of the first row from the bottom horizontally.
So, to have a good design layout for my card, my butterfly embellishment should be in the first row on the right vertically and in the center of the first row from the top horizontally.
The knot in the bow and the butterfly are sort of mirror images of each other.
Perfect! When I put my grid over my finished card, I have a nice evenly placed layout.
My card is complete and I'm happy with it.
So, don't throw out those cellophane bags from your stampin' supplies. Save them, measure them, get out your sharpie and draw your grids. Your card layouts will be perfect.
Here's a little hint for perfectly measuring your grid. I take a piece of plain white bond paper, cut it to my grid size (you'll probably want to make an A-2 size to start – 4 1/4" X 5 1/2"), then I fold the paper in even thirds vertically, open it and fold it horizontally. Cut the cellophane to the same size and place it over the folded bond paper. With a ruler and fine point Sharpie, draw your grid onto the cellophane. It'll be permanent so you can use it all the time, even if it's to just check your layout.
Thanks for creating this card with me, and I hope all your card layouts are perfect! Remember the "Rule of Thirds", and "3" is our "happy number".
I enjoyed making my card with you!
Stop by on Wednesday for my last card design post. I'm going to talk about "balance".

![6a017744af3aa5970d019b00499e32970d-500wi[1] 6a017744af3aa5970d019b00499e32970d-500wi[1]](https://expressivelydeb.com/wp-content/uploads/2013/10/6a017744af3aa5970d019b00618f11970d-500wi.png)




What a great post! It’s interesting to see how there’s science behind some of the aesthetic decisions we make. Balance is hugely important. What a great way to achieve that.
Hi Deb,
I am a hobby demo and regularly visit Mary Fish’s blog for inspiration. I saw your guest post yesterday and that led me to your blog which is just great!! I love the way you are analyzing color and layout. I went back several months enjoying your posts. Thanks for sharing your beautiful cards!
Well, that’s a neat concept. I did see your blog yesterday too; but, ran out of time to respond. Also an interesting concept with color. I have always heard that green goes with everything and never thought about yellow. I just may give it a go with your cellophane grid. Sometimes, there are methods to our madness huh? =) Thanks so much for the lessons and your gorgeous cards. The colors and ‘balance’ are fabulous!
I use the rule of thirds in my photography all the time. I love how you made the clear grid to apply it to cards! Awesome idea, thanks!
Thanks, Debbie!
This will be very helpful and lessen a lot of frustrations! Can’t wait to incorporate in my
card-making!
Great post and a great card! I read it twice and – wow – it all makes perfect sense…thanks for breaking it down to make us think about balance! LOVE!!!
Wonderful card, and it always helps to see someone else’s creative process at work. The grid idea is excellent!
Great tip-off to make me one!
BEAUITIFUL , love that idea , thanks Debbie
Hugs frenchie,
Great ideas! A case for sure!