

Happy Saturday!
We finally got a glimpse of the sun here in New Jersey yesterday. It’s been unusually hot, but I enjoy seeing the sun and blue skies. I hope you have some outdoor weekend plans and can spend some time in your craft room.

In yesterday’s post, I gave you the directions for the matching clip board to today’s pocket notebook. Today, as promised, I have a PDF tutorial for this adorable project. You can download the tutorial at the end of this post.

Each month, my Stampin’ Up! Team and I get together to talk about the latest and greatest over at Stampin’ Up! and we each create a project to share. I’m a card maker at heart but the ladies are testing my creative abilities with more and more 3-D projects. I’ve been enjoying them and hope to mix it up a little more for you. I think this little pocket notebook is so much fun to create and share. Alone, or matched with the clip board, it makes a pretty little gift.
I’m listing the supplies I used below and they will also be listed in the tutorial. If you have any questions at all, feel free to reach out to me.
Here’s What I Used:
- Basic Black, Basic White, Polished Pink, Bermuda Bay and So Saffron Cardstock;
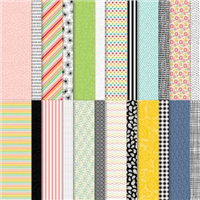
- Pattern Party Designer Series Paper (Annual Catalog);
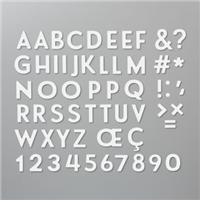
- Playful Alphabet Dies;
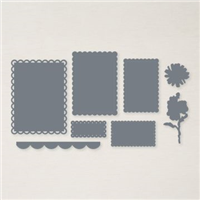
- Scalloped Contours Dies;
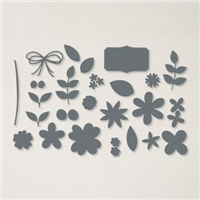
- Pierced Blooms Dies;
- Multipurpose Glue and Tear & Tape Adhesive;
- Small lined note pads purchased at Dollar Tree. They come 5 to a pack and measure 3 1/2″ x 5″.
- Mini Ballpoint Pens purchased at Amazon. They come 48 to a pack and are in assorted colors with blue ink. The pens measure 3 1/4″ in length.
- The finished notebook size is 4″ X 5 1/4″. This is a good size to slip into your bag.
Click on the button below for a complete PDF tutorial with photos and directions.

So, get yourself some note pads and small pens, pick a favorite Designer Series Paper, add a few blooms and create something handy to give or keep for yourself.
…the only limitation is your imagination!

You can click on the images below for more supply details.


Click to shop my online store at Stampin’ Up!


