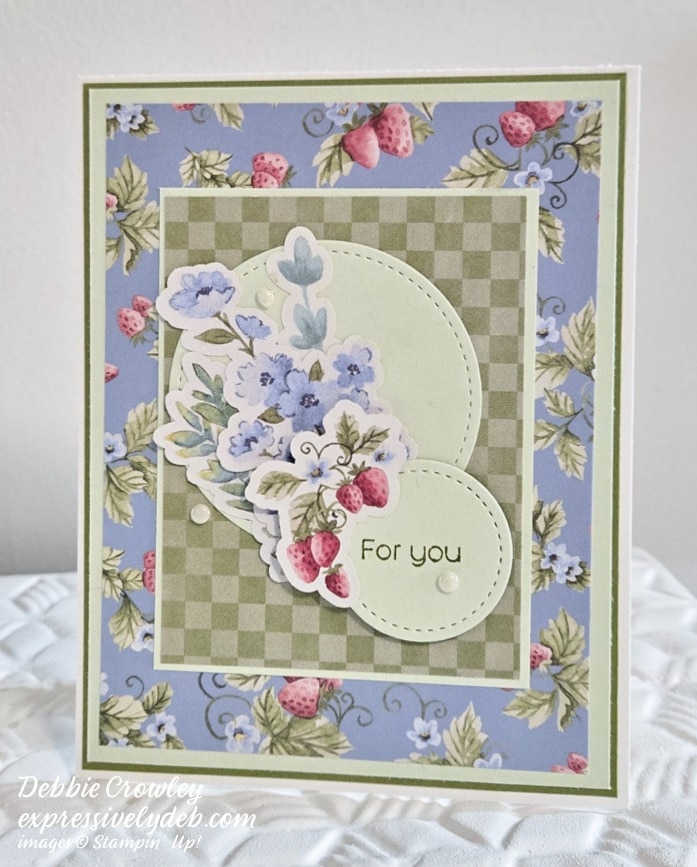
I wanted to capture the elegant simplicity of the strawberry pattern from the Storybook Moments Designer Series Paper. This card came together so quickly for me. I decided I wanted to cut the strawverry pattern, and the rest fell into place.
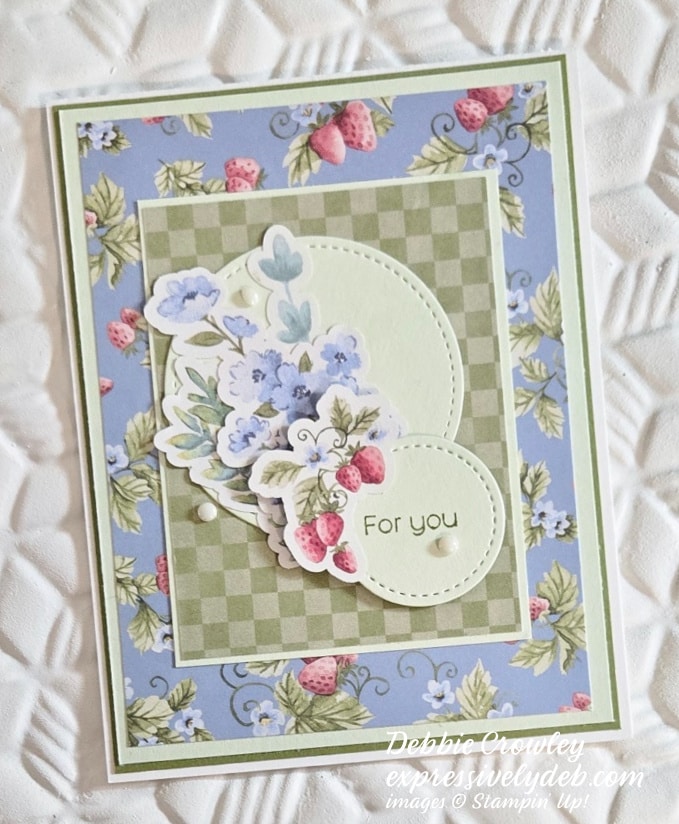
My design is simple – just layers and a large Focal Point element cluster. I used circles to soften the focal point, and keep in line with the (curcular) swirly lines in the strawberry paper. The die cut elements are from one of the sheets in the Specialty Paper Pack. They’re laser cut punch-outs. I enjoyed picking the elements I thought would work together. In this card, the Storybook Moments Designer Series Paper does all the work.
Have fun with this card design by switching up some of your favotire patterns and elements.
So, let’s make a card!
Parts & Pieces
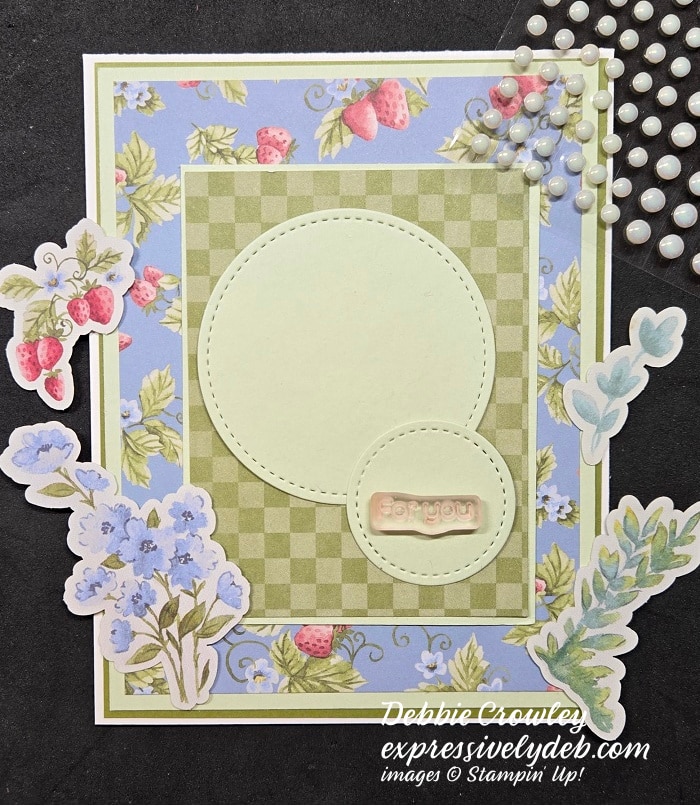
The Basic White card base is 4 1/4″ x 11″, scored at 5 1/2″.
The Old Olive mat layer is 4 1/8″ x 5 3/8″.
The Soft Seafoam mat layer is 4″ x 5 1/4″.
The patterned paper layer is 3 3/4″ x 5″.
The center Soft Sea Foam cardstock layer is 2 7/8″ x 3 3/4″
The gingham patterned paper layer is 2 3/4″ x 3 5/8″.
I die cut the circles. The larger circle is 2 1/4″ in diameter, and the smaller circle is about 1 1/2″ in diameter.
The elements are all punch-outs from one of the DSP Specialty sheets.
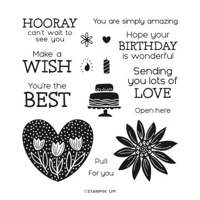
I used one of the sentiments from my Hooray For Surprises Stamp Set.
Once you adhere the layers to the card front, and attach the circles, you can arrange the elements as shown. I added a few Antique Pearls to embellish.
I hope you enjoy putting this card together as much as I did.
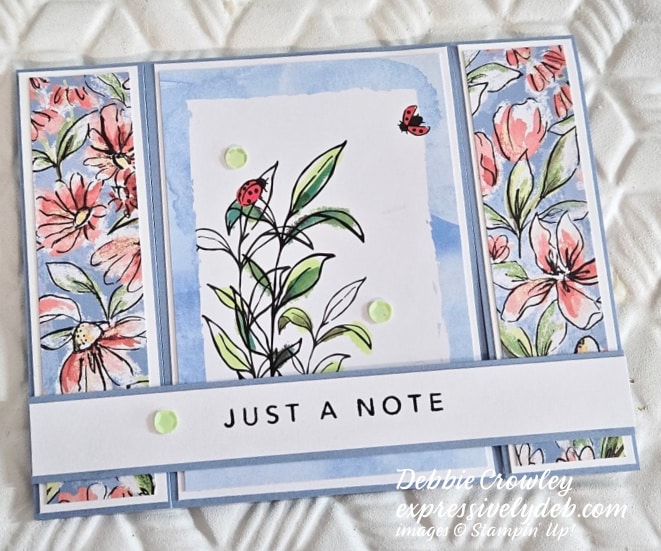
I put this card together using the Mixed Media Florals Memories & More Card Pack. The Pack is full of beautiful Mixed Media paterns, including florals and graphics. It coordinates with the Mixed Media Florals Suite. The Memories & More Card Packs are designed for memory keeping. They’re easy to use to create card designs and 3D projects.
I thought it would be fun to put together a quick Fun Fold design using the cards, and share a PDF Tutorial with you. You can download the Tutorial, use the cutting dimensions, your favorite patterned paper, and create your custom card designs.
This fun fold has been around for a while. I’m calling it an “H-Front Flap” Fun Fold. The photo above shows the card after you lift the front flap.
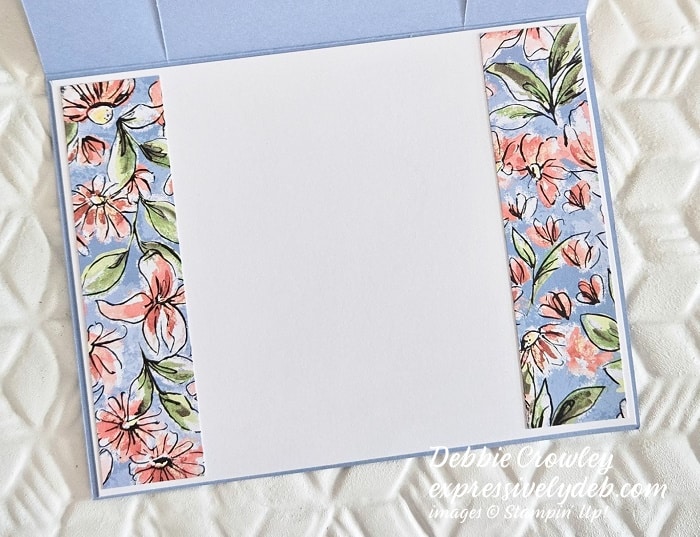
The card below shows the inside of the card, including the writing layer.
You can download the Tutorial below. Have fun with it!
I hope you enjoy my card and a new Stampin’ Story.
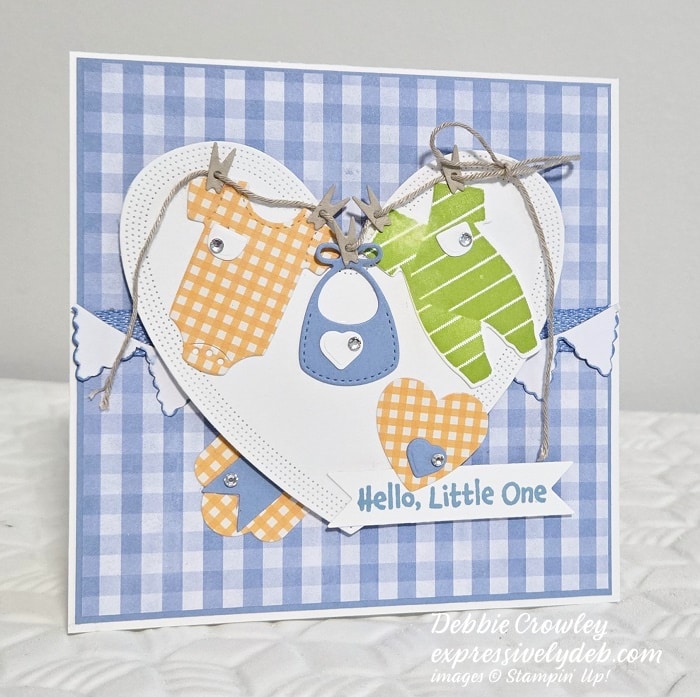
Last week, my daughter asked if I would make a baby card. She and other teachers were planning a baby shower for one of their colleagues. Of course, I said “yes”, and began to search through my stamps and dies to see what I could put together.
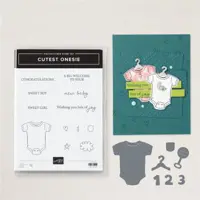
I used the All For Baby Bundle (it’s retired now), to stamp and die cut the onesies. If you’re inspired by this card (as I was by a card on Etsy), Stampin’ Up! has a current Stamp Set called Cutest Onsie. It’s in the Annual Catalog on page 64.
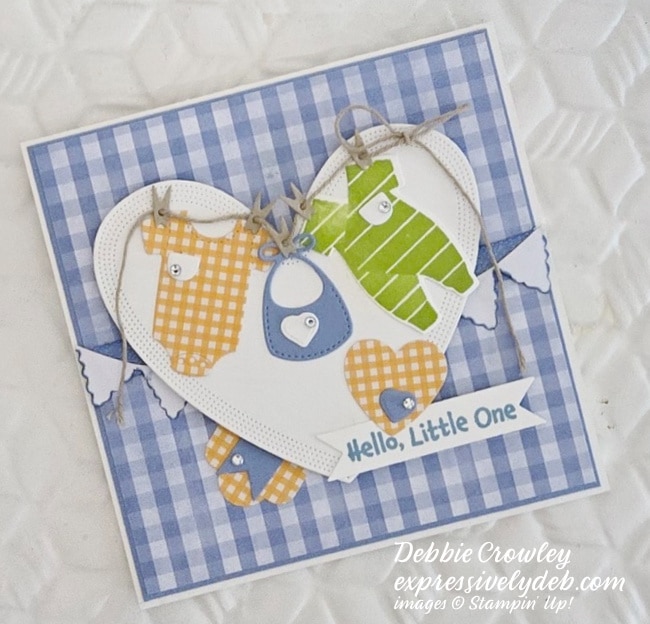
I sometimes talk about how a card comes to life from one sheet of patterned paper, or one small element. That’s true of this card. The large heart and hanging onesies were my inspiration. I added all sorts of pieces and parts, and enjoyed watching it all come together.
The Mon-To-Be loved the card! That’s always true of a hand made card.
So, let’s put this card together!
Pieces And Parts
This is a 5″ square card. I cut the Thick Basic White cardstock card base 5″ x 10″, and scored it at 5″.
The Boho Blue mat layer is a 4 7/8″ square.
The gingham patterned paper layer is a 4 3/4″ square.
I cut the large white heart using the Hearts of Elegance Dies.
The onesies are stamped and die cut with the stamps and coordinating die from the All For Baby Bundle (retired), but you can replace them with the onesie from the Cutest Onesie Stamp Set.
The smaller heart is from the Hearts Of Elegance Dies.
The little flagged banners you see behind the large heart are die cuts from the Something For Everything Epherema Pack. The banners are shaded in Pool Party, but I used the back side which are white.
I cut the Boho Blue Woven Ribbom 5″, and adhered it behind the large heart.
I hung the onesies on a Linen Thread clothes line.
I hand cropped the Boho Blue banner.
A few Rhinestone Basic Jewels gave these little onesies some sparkle.
So, I hope you enjoyed my Stampin’ Story. Pulling supplies from your stash is part of the creative process, and I suppose cleaning your craft room afteer you “pull” is part of it, as well. (smile). If you don’t have onesies, maybe a few teddy bears, or a toy doll, or how about a few alphabet blocks to add to your large heart?
Stampin’ Up! has just added more FREE products to choose with your qualifying product purchase dueing Sale-A-Bration. Take a look at the new products added by clicking the links.
New products added with a $60 qualifying product purchase,click here.
New Products added with a $120 qualifying product purchase,click here.
Februray, 2025 Customer Card Kit
You will receive everything you need to put the cards together as I’ve designed them except for adhesives.
The Kit will include the card bases, layers, die cuts, embellishments, sentiment layers, and envelopes.
I cannot send stamped images, but you will have a sentiment layer you can customize to a stamp you have.
You will also receive a printed PDF Tutorial, along with a video link so you can put the cards together with me.
You will automatically receive this Kit with a minimum product purchase of $50.00 through my online store.
This card kit will be available through February 28, 2025.
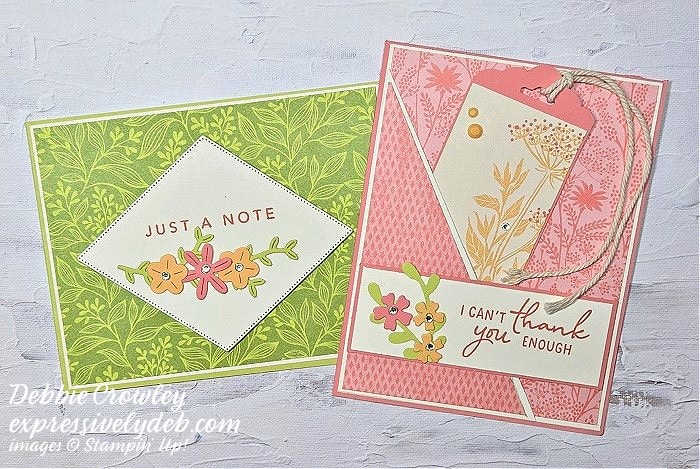
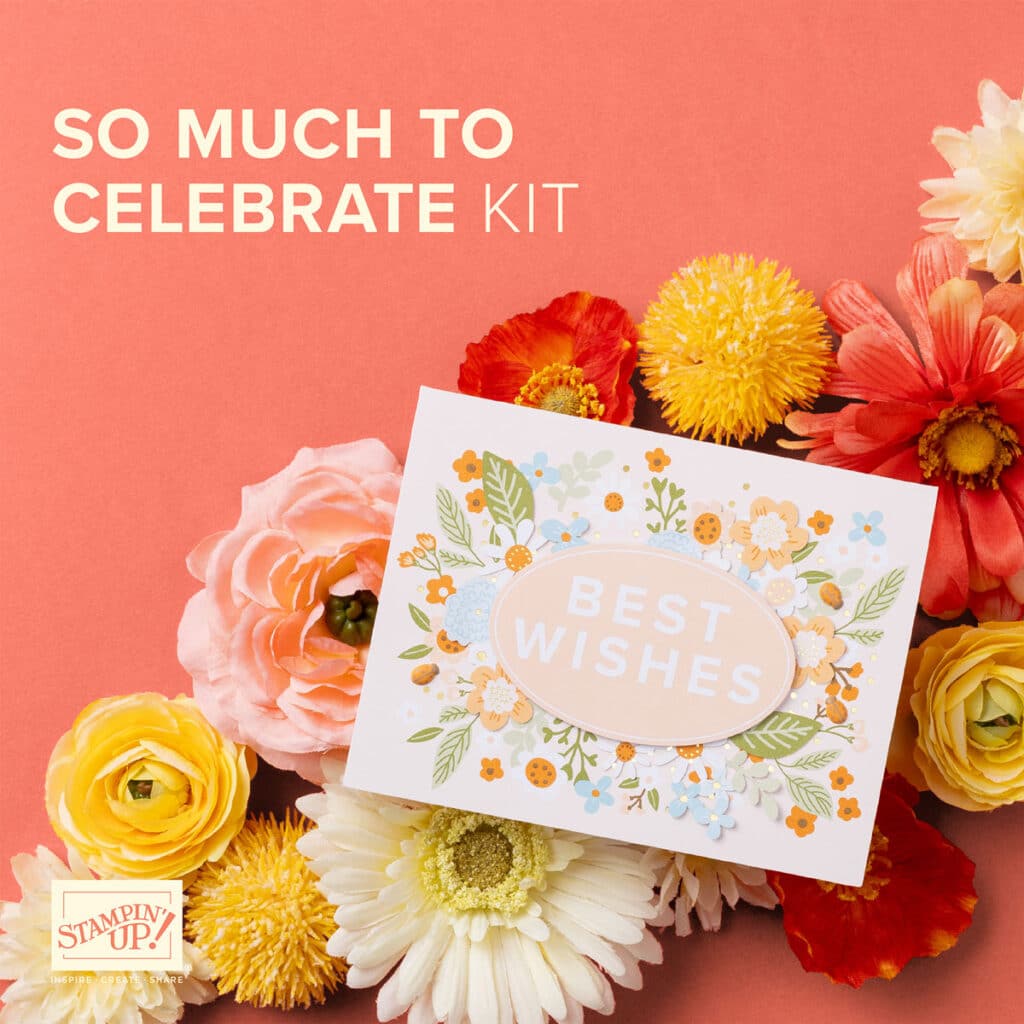
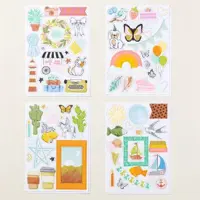
The Refreshed Beauty Designer Series Paper pack showcases bright color combinations. Along with these fresh “happy” colors, the patterns are subtle, making them perfect backgrounds for your cards and scrapbook layouts.
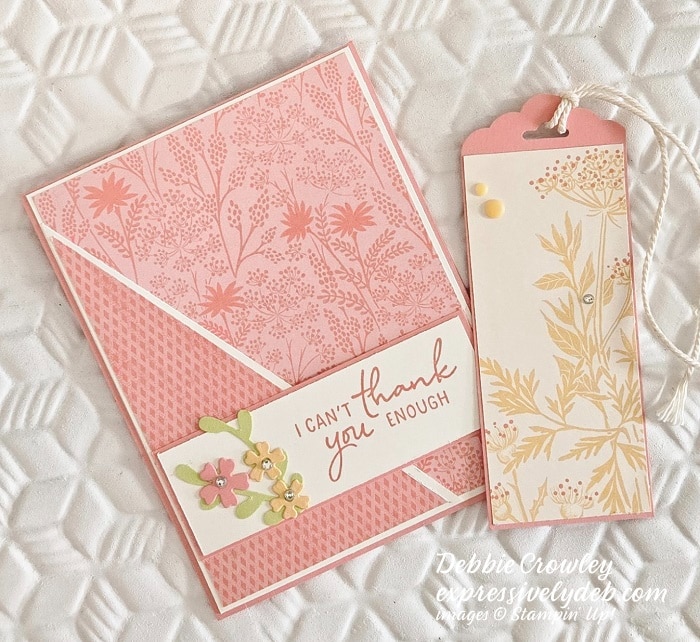
My February Customer Card Kit celebrates this pretty Designer Series Paper pack. As always, there’s a quick and easy card, and one that’s a bit more detailed. They’re both fun to put together and send to someone special.
The second card includes a removable bookmark. It makes an adorable gift for so many occasions, or just to say “hi”.
February Card Kit Details
You will receive everything you need to put the cards together as I’ve designed them except for adhesives.
The Kit will include the card bases, layers, die cuts, embellishments, sentiment layers, and envelopes.
I cannot send stamped images, but you will have a sentiment layer you can customize to a stamp you have.
You will also receive a printed PDF Tutorial, along with a video link so you can put the cards together with me.
You will automatically receive this Kit with a minimum product purchase of $50.00 through my online store.
This card kit will be available through February 28, 2025.
I had so much fun putting these cards together. I think you will, as well.
As always, you can reawch out t o me with any questions.
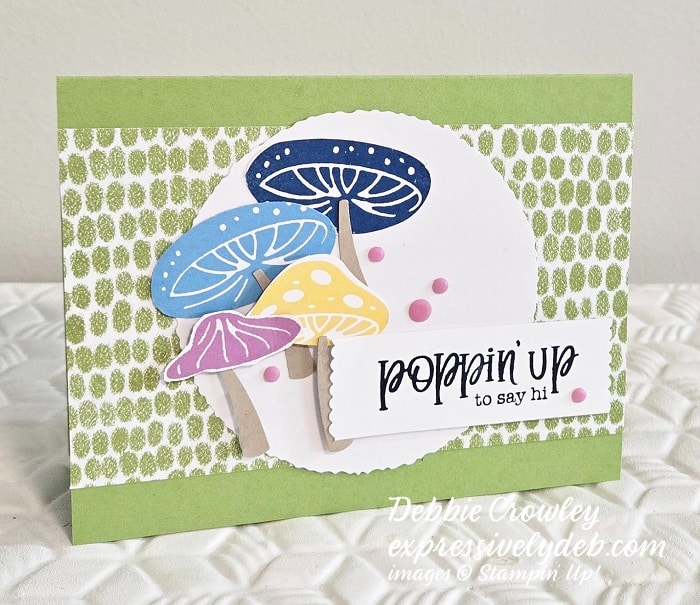
I couldn’t stop stamping toadstools! The new Terrific Toadstools Bundle was on my “A” List radar. It’s a Punch Bundle, and so much fun to use! Perfect for this time of year when we all could use a little handmade “hello”. The sentiments will make you smile.
There’s also a coordinating 6″ x 6″ Designer Series Paper Pack in the Sale-A-Bration Brochure. That means that the Toadstools Gardens coordinating paper pack is FREE with your qualifying purchase. You can get the Bundle, add some cardstock, an embellishment pack (always a fun accessory), and your favorite adhesive. You’ll get the patterned paper FREE, and you have all you need to create a bunch of cards to send some smiles.
Let’s put this card together.
Pieces & Parts
The Granny Apple Green cardstock card base is 5 1/2″ x 8 1/2″, scored at 4 1/4″ on the 8 1/2″ side.
The patterned paper layer is 3 1/2″ x 5 1/2″.
HERE’S A CARDMAKING TIP: Although the patterned paper layer is the width of the card front (5 1/2″), I cut it a full 6″, attached it to the center of the card front, and trimmed each side from the back of the card front. This gives you a nice, even edge on the card front.
I used one of the Deckled Edge Circle Dies to cut the Basic White circle. It measures approximately 3 1/2″ in diameter.
The Basic White sentiment strip is 1″ x 3 1/4″. I used my Happy Labels Punch to punch each side of the strip.
The sentiment is stamped with Night of Navy ink.
I stamped the toadstools using Night of Navy, Azure Afternoon, Daffodil Delight, and Petunia Pop ink. Once stamped, I punched them using the coordinating punch.
I punched the stems using Crumb Cake cardstock.
The toadstools are attached with both liquid glue and Dimensionals.
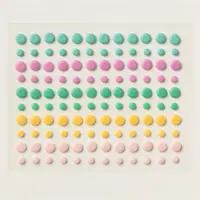
I scattered a few Petunia Pop Resin Dots to embellish.
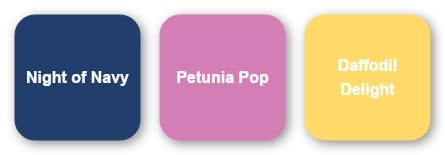
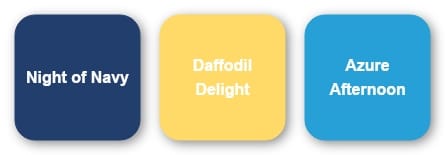
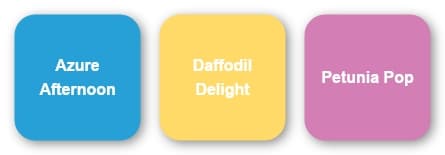
Fun Colors
Here are some of the color combinations you can mix using the Terrific Toadstools Stamp Set. Once you choose your colors, add a Neutral for the stem, and match up your favorite patterned paper. It’s quick, easy and fun to stamp some Toadstools.
So, cut a few card bases, stamp lots of toadstools, add a paterned paper layer and sentiment, and create something “happy”!
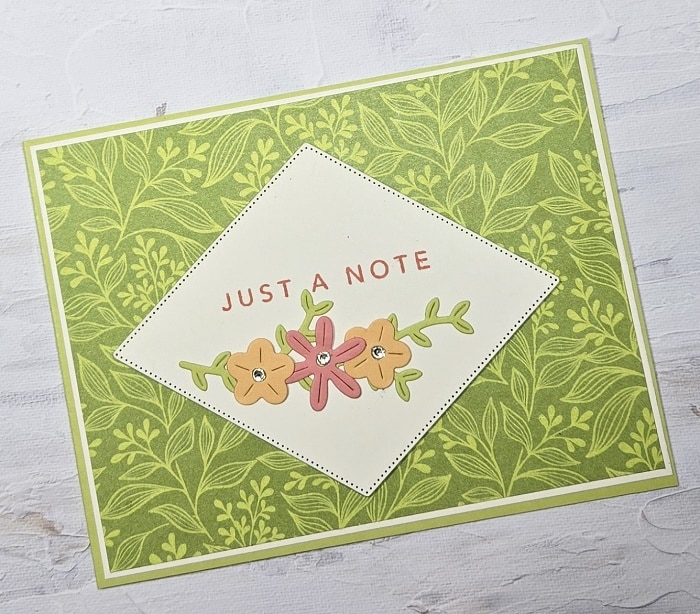
The cards are showcasing the Regal Flora Designer Series Paper. One is a popular Fun Fold design, and the second is a quick and easy design you can use for any occasion.
Below are the Kit details:
This card kit will be available through January 31st, 2025.
You will receive everything you need to put the cards together as I’ve designed them except for adhesives.
The Kit will include the card bases, layers, die cuts, embellishments, sentiment layers, and envelopes.
I cannot send stamped images, but you will have a sentiment layer you can customize to a stamp you have.
You will also receive a printed PDF Tutorial, along with a video link so you can put the cards together with me.
You will automatically receive this Kit with a minimum product purchase of $50.00 through my online store.
I am Debbie Crowley and welcome to my blog. Here you'll find fun projects that are sure to inspire you. I hope you'll stop
by often and leave a comment or two. To contact me, you can email me at: expressivelydeb@gmail.com
Current Catalogs
What are you looking for?
The content of this blog is the sole responsibility of Debra Crowley, expressively deb.com, as an Independent Stampin' Up! Demonstrator. The use of and content of classes, services or products offered is not endorsed by Stampin' Up!