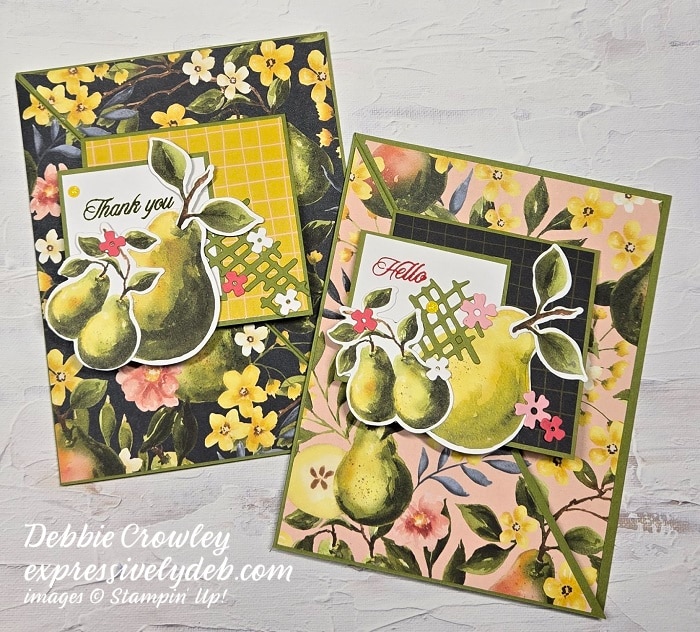
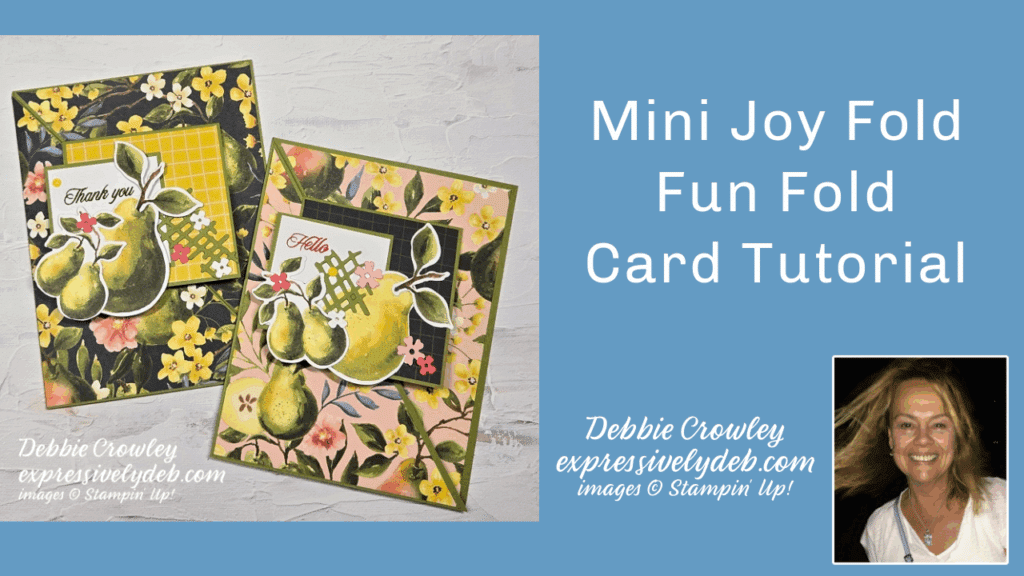
Here’s a new project tutorial featuring the Painterly Pears Designer Series Paper and the Perfectly Pears Bundle.
This is such a fun card to put together. My inspiration came from a sketch in the Mojo Monday Sketch Gallery. I made a few samples using some of the Beautifiul Galleries Designer Series Paper.
I hope you enjoy the Video Tutorial that includes all the information you need to make your version of these cards.
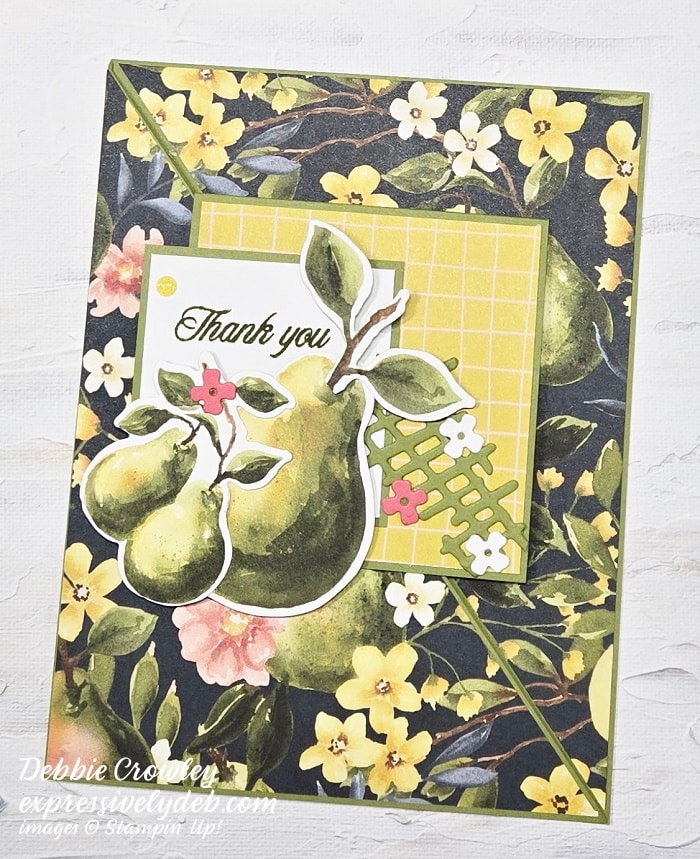
A beautiful show of gratitude using the Painterly Pears Designer Series Paper
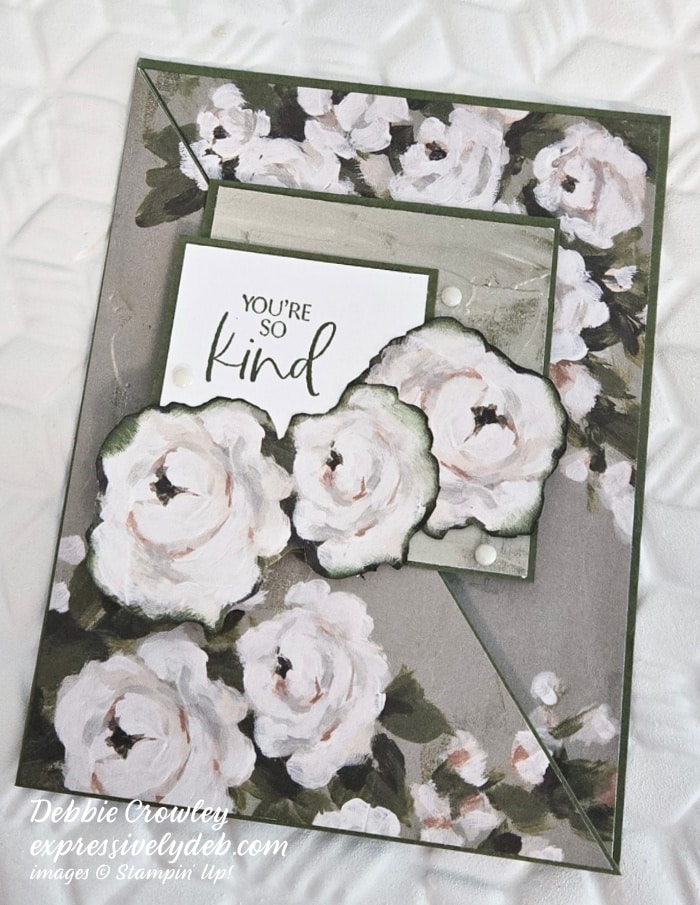
The carsd below feature the Beautiful Galleries Designer Series Paper. I fussy cut the flower element on the card front and inked the edges with Secret Sea and Mossy Meadow ink, and a sponge dauber.
You can use the patterned papers I feature in this post, or find that beautiful patterned paper you have in your stash. I hope you enjoy putting these cards together as much as I did.
You can download the Project Sheet with the cutting dimensions for these cards below.
So, (I know you know what I’m going to say …) … find that amazing patterned paper, match up some cardstock, add a few beautiful elements, and create a “Mini Joy Fold” Fun Fold to send gratitude to someone special.
I thought it would be fun to share this Fun Fold card design with you. It’s an easy to put together design that is sure to “WOW” your recipient.
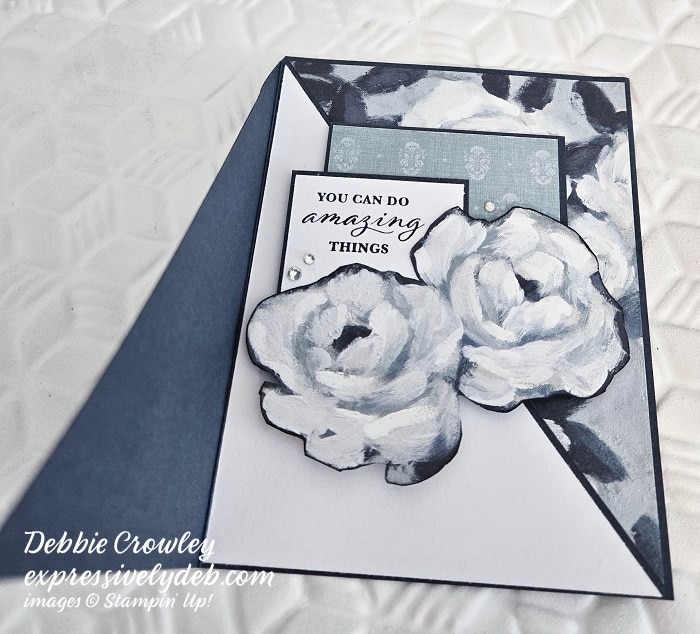
I saw a version of this on Pinterest using a large die cut flower as a focal point layer. The card didn’t use patterned paper. The large floral Focal Point was beautiful standing alone. (More inspiration for yourversion of this design). I enjoy using layers in my cards, and adore mixing patterns with Designer Series Paper. There’s no doubt, though, that I will try a large image focal point on a future card.
I hadn’t seen a tucked front flap, so I thought it would be fun to try it. Once I got the cutting dimensions in place, I cut some Designer Series Paper, mixed and matched patterns, and created a few cards. This is a “FUN” Fun Fold, for sure. I decided to call it a “Tucked Flap Fun Fold”.
So, get comfortable, and enjoy the Video. There’s a few tips and tricks for quick and easy assembly.
The Beautiful Gallery 6″ x 6″ Designer Series Paper is stunning! While stepping into this old world art gallery, my inspiration soared, and yours will, as well. Take a look at all of the beautiful designs here.
My card is a simple design that focuses on the patterned paper.
I attached a patterned paper layer to the entire card front. As a grounding layer for the rectangle focal point, I cut strips from the pattern, and added a slice of Cloud Cover cardstock for a bit of dimension. I wasn’t sure how it would all come together, but once I strategically cut the focal point layer, I was happy with the result.
The soft tones in the color combination were inspired, of course, by the DPS. This is a beautiful combination – Cloud Cover and Pecan Pie, with Basic Beige as the Neutral. Warm and soothing, right?
So, let’s make a card!
Parts & Pieces
The Basic Beige card base is 4 1/4″ x 11″, scored at 5 1/2″.
The patterned paper card front layer is 4 1/4″ x 5 1/2″.
Each of the patterned paper strips is 1/2″ x 4 1/4″, and the Cloud Cover cardstock layer under each strip is 1/4″ x 4 1/4″.
NOTE: I cut my strips longer, attached them to the card front and trimmed from the back.
I stragegically cut the focal point patterned paper layer. It measures 2″ x 3 3/4″.
The Could Cover cardstock mat layer is 2 1/8″ x 3 7/8″.
I stamped the sentiment using Pecal Pie ink and die cut it using the circle die from the Happy Hibiscus Dies.
For more assembly details and photos, download the PDF Tutorial. Click here or the button below.
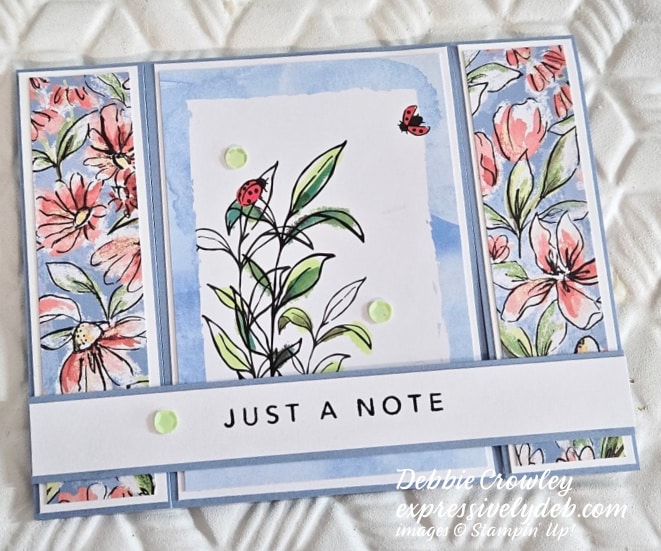
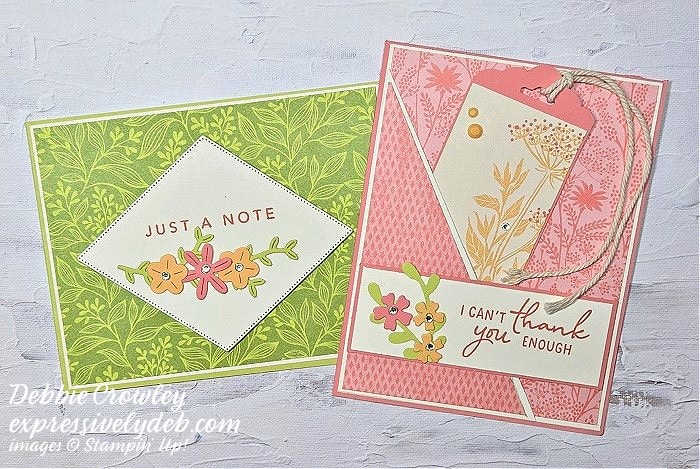
I put this card together using the Mixed Media Florals Memories & More Card Pack. The Pack is full of beautiful Mixed Media paterns, including florals and graphics. It coordinates with the Mixed Media Florals Suite. The Memories & More Card Packs are designed for memory keeping. They’re easy to use to create card designs and 3D projects.
I thought it would be fun to put together a quick Fun Fold design using the cards, and share a PDF Tutorial with you. You can download the Tutorial, use the cutting dimensions, your favorite patterned paper, and create your custom card designs.
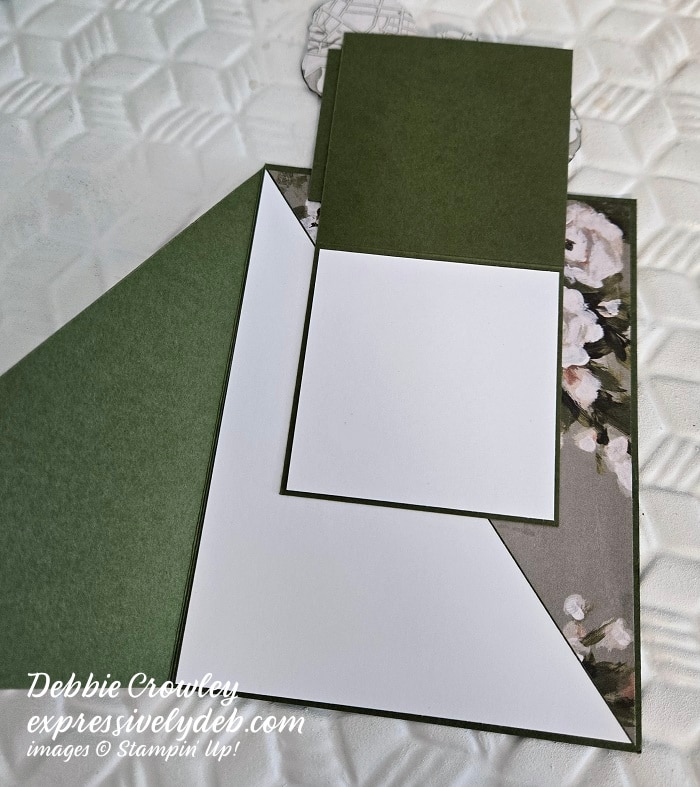
This fun fold has been around for a while. I’m calling it an “H-Front Flap” Fun Fold. The photo above shows the card after you lift the front flap.
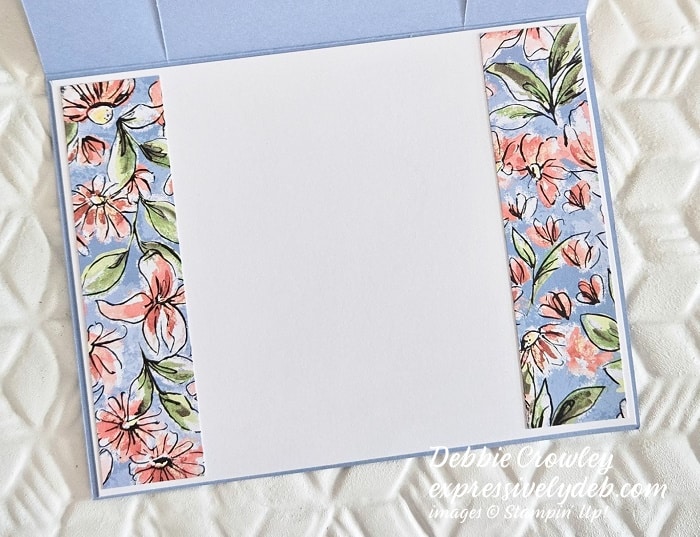
The card below shows the inside of the card, including the writing layer.
You can download the Tutorial below. Have fun with it!
Do you love fuit? I am what some would call a food “grazer”. I snack on fruit all day. It’s something I’ve always done. As I’m writing this post, I have a handful of blueberries in front of me. When it’s not “berry” day, I slice an apple or red pear and keep it in front of me. I “pick” and work, and “pick” and craft.
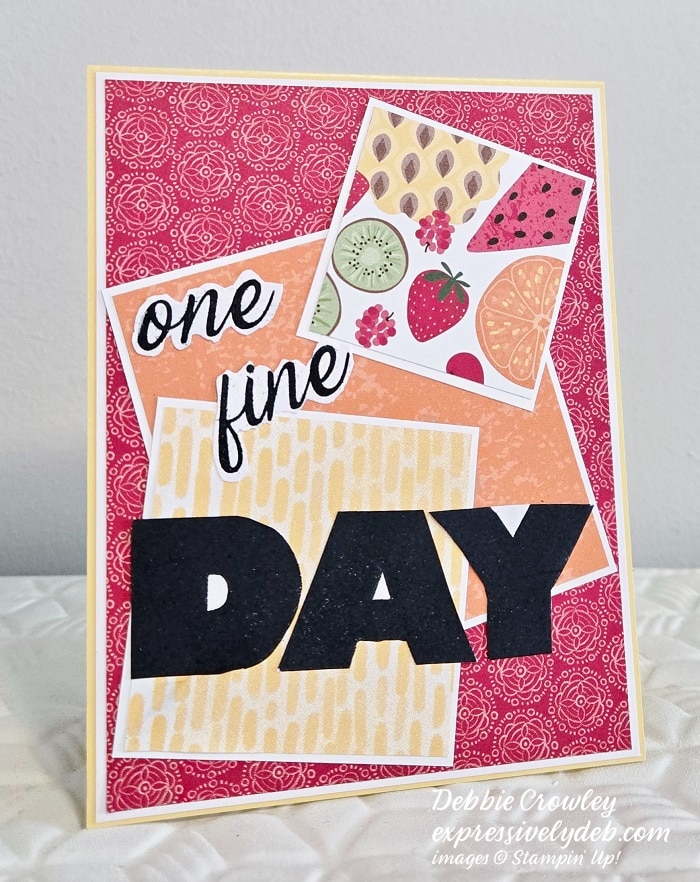
Speaking of fruit, I’m showcasing the Fruit Salad Designer Series Paper on my card. I love the bright color combinations and the whimsical fruit designs. The Paper Pack also includes more subtle designs perfect for backgrounds and accents. The Fruit Salad Designer Series Paper is a FREE Sale-A-Bration item. It’s a fun paper pack to add to your stash.
Along with the Fruit Salad Designer Series Paper, I used the Documenting The Day Stamp Set. It’s also FREE during Sale-A-Bration. This stamp set has large sentiments you can mix to customize your message. It’s fun for card making, and great for scrapbooking sentiments.
So, let’s make a card!
Pieces And Parts
I cut a Daffodil Delight cardstock card base 4 1/4″ x 11″, and scored it at 5 1/2″.
There’s a Basic White cardstock mat layer on the front of the card base. It measures 4 1/8″ x 5 3/8″.
The Real Red patterned paper layer is 4″ x 5 1/4″.
I cut three patterned paper squares to create a card front design. They also showcase the patterned paper designs.
The Pumpkin Pie square is 3 1/8″ attached to a Basic White 3 1/4″ square; the Daffodil Delight square is 2 5/8″, attached to a 2 3/4″ Basic White mat layer.
The Ftuit Salad square is 1 7/8″, attached to a 2″ Basic White mat layer.
The setiments are stamped with Tuxedo Black Memento ink and fussy cut.
I think this is a fun card to share “One Fine Day” with a friend or two.
I enjjoy cutting and piecing patterned paper. To me, it’s one of the fun parts of paper crafting. If you enjoy matching patterns, take a look at the Fruit Salad patterned paper. It’s perfect for children, masculine, and fun cards just to say “Hi”, and have yourself “One Fine Day!”
Stampin’ Up! has just added more FREE products to choose with your qualifying product purchase dueing Sale-A-Bration. Take a look at the new products added by clicking the links.
New products added with a $60 qualifying product purchase,click here.
New Products added with a $120 qualifying product purchase,click here.
Februray, 2025 Customer Card Kit
You will receive everything you need to put the cards together as I’ve designed them except for adhesives.
The Kit will include the card bases, layers, die cuts, embellishments, sentiment layers, and envelopes.
I cannot send stamped images, but you will have a sentiment layer you can customize to a stamp you have.
You will also receive a printed PDF Tutorial, along with a video link so you can put the cards together with me.
You will automatically receive this Kit with a minimum product purchase of $50.00 through my online store.
This card kit will be available through February 28, 2025.
I am Debbie Crowley and welcome to my blog. Here you'll find fun projects that are sure to inspire you. I hope you'll stop
by often and leave a comment or two. To contact me, you can email me at: expressivelydeb@gmail.com
Current Catalogs
What are you looking for?
The content of this blog is the sole responsibility of Debra Crowley, expressively deb.com, as an Independent Stampin' Up! Demonstrator. The use of and content of classes, services or products offered is not endorsed by Stampin' Up!


 alt=”165196″ />