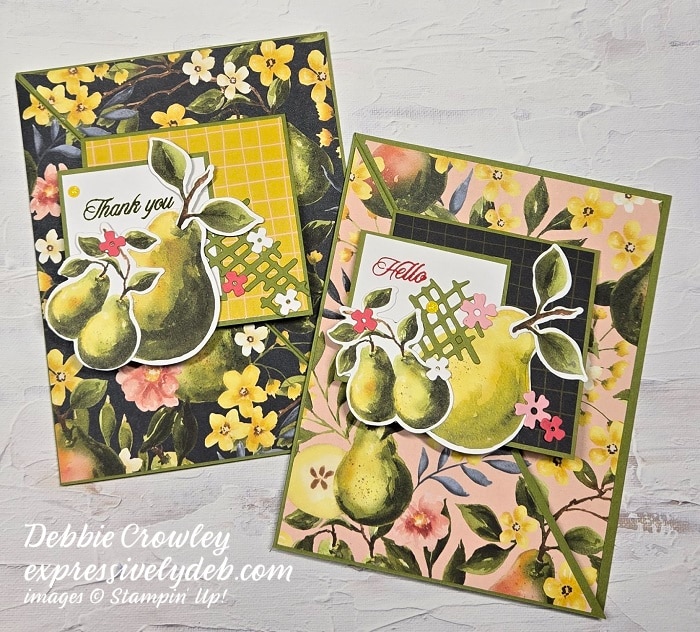
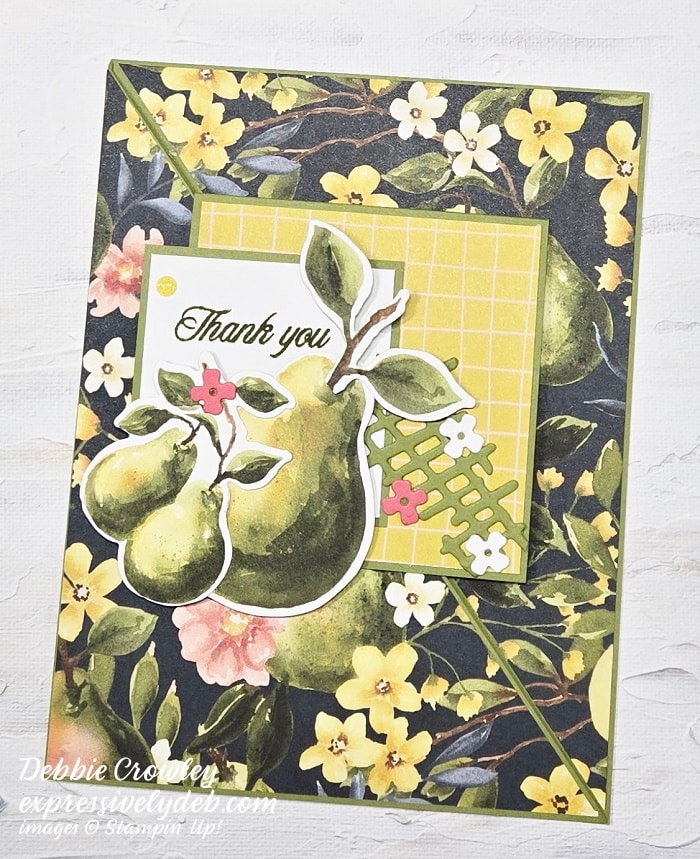
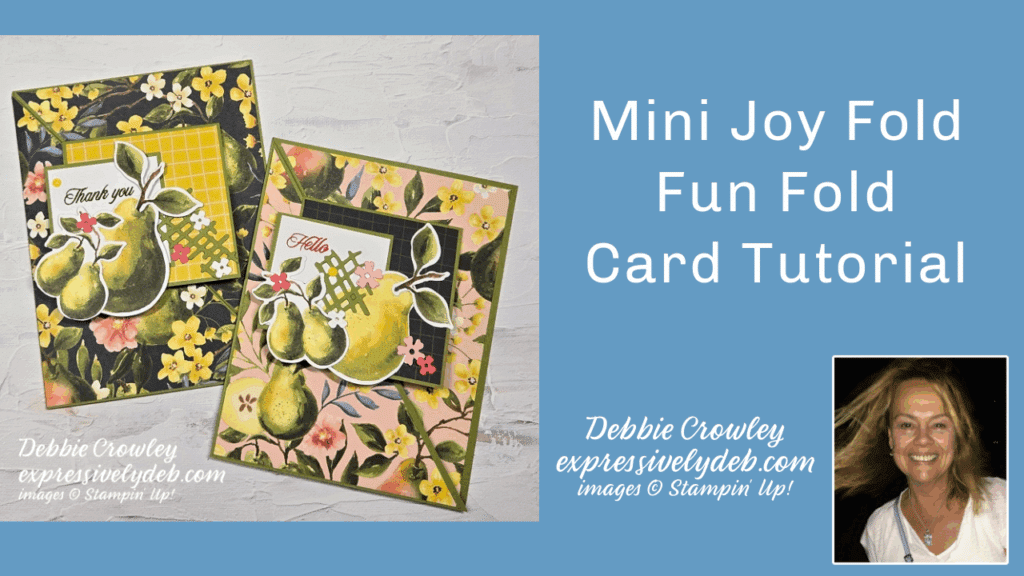
Here’s a new project tutorial featuring the Painterly Pears Designer Series Paper and the Perfectly Pears Bundle.
This is such a fun card to put together. My inspiration came from a sketch in the Mojo Monday Sketch Gallery. I made a few samples using some of the Beautifiul Galleries Designer Series Paper.
I hope you enjoy the Video Tutorial that includes all the information you need to make your version of these cards.
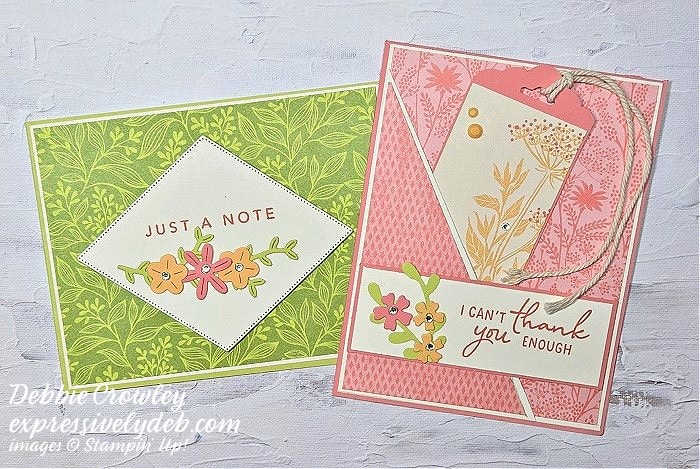
A beautiful show of gratitude using the Painterly Pears Designer Series Paper
The carsd below feature the Beautiful Galleries Designer Series Paper. I fussy cut the flower element on the card front and inked the edges with Secret Sea and Mossy Meadow ink, and a sponge dauber.
You can use the patterned papers I feature in this post, or find that beautiful patterned paper you have in your stash. I hope you enjoy putting these cards together as much as I did.
You can download the Project Sheet with the cutting dimensions for these cards below.
So, (I know you know what I’m going to say …) … find that amazing patterned paper, match up some cardstock, add a few beautiful elements, and create a “Mini Joy Fold” Fun Fold to send gratitude to someone special.
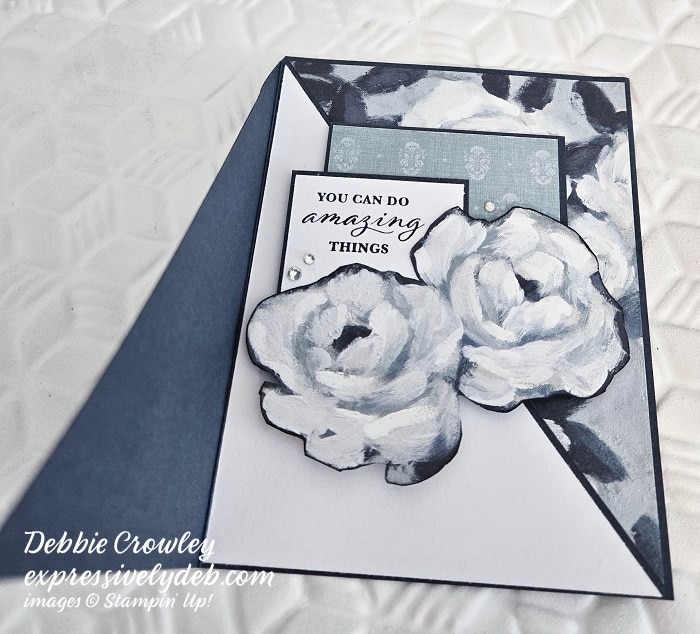
I thought it would be fun to share this Fun Fold card design with you. It’s an easy to put together design that is sure to “WOW” your recipient.
I saw a version of this on Pinterest using a large die cut flower as a focal point layer. The card didn’t use patterned paper. The large floral Focal Point was beautiful standing alone. (More inspiration for yourversion of this design). I enjoy using layers in my cards, and adore mixing patterns with Designer Series Paper. There’s no doubt, though, that I will try a large image focal point on a future card.
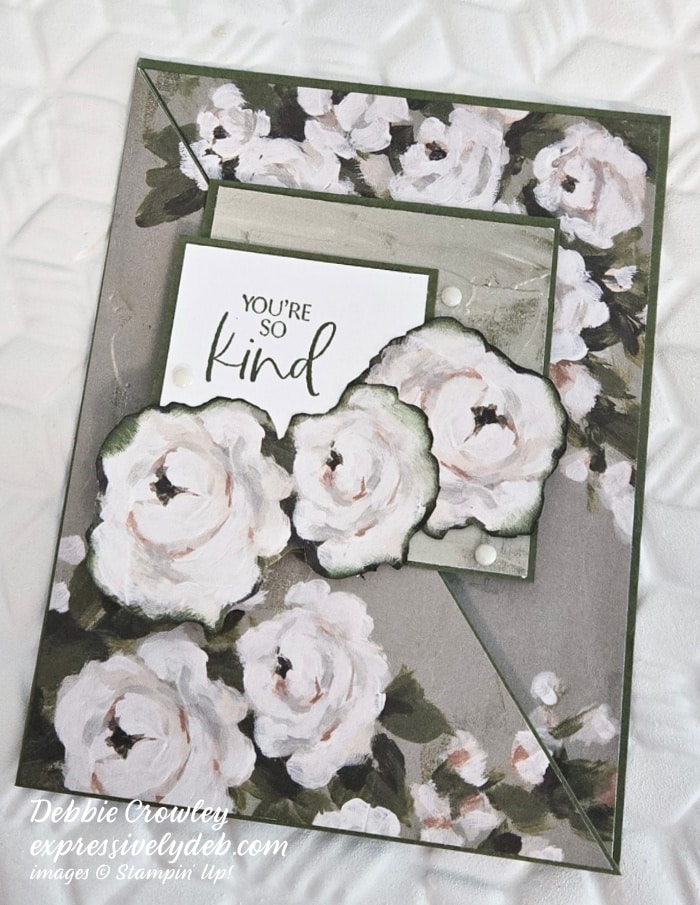
I hadn’t seen a tucked front flap, so I thought it would be fun to try it. Once I got the cutting dimensions in place, I cut some Designer Series Paper, mixed and matched patterns, and created a few cards. This is a “FUN” Fun Fold, for sure. I decided to call it a “Tucked Flap Fun Fold”.
So, get comfortable, and enjoy the Video. There’s a few tips and tricks for quick and easy assembly.
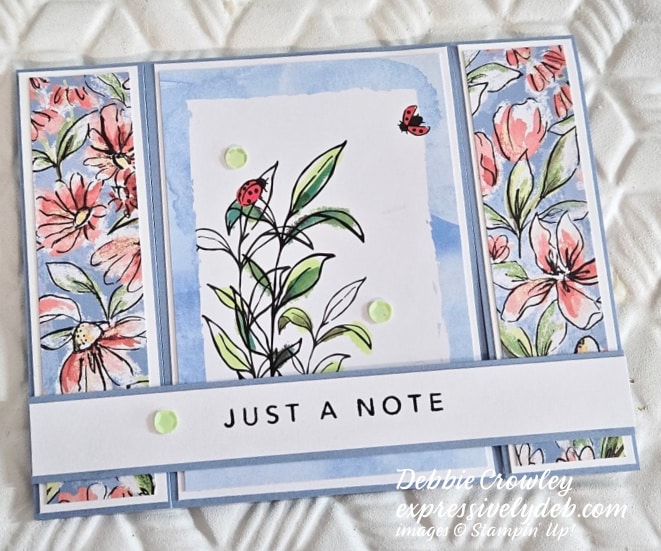
I put this card together using the Mixed Media Florals Memories & More Card Pack. The Pack is full of beautiful Mixed Media paterns, including florals and graphics. It coordinates with the Mixed Media Florals Suite. The Memories & More Card Packs are designed for memory keeping. They’re easy to use to create card designs and 3D projects.
I thought it would be fun to put together a quick Fun Fold design using the cards, and share a PDF Tutorial with you. You can download the Tutorial, use the cutting dimensions, your favorite patterned paper, and create your custom card designs.
This fun fold has been around for a while. I’m calling it an “H-Front Flap” Fun Fold. The photo above shows the card after you lift the front flap.
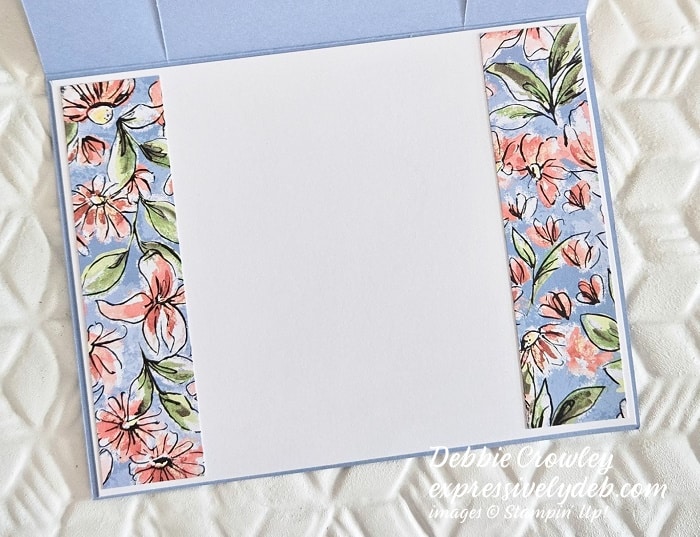
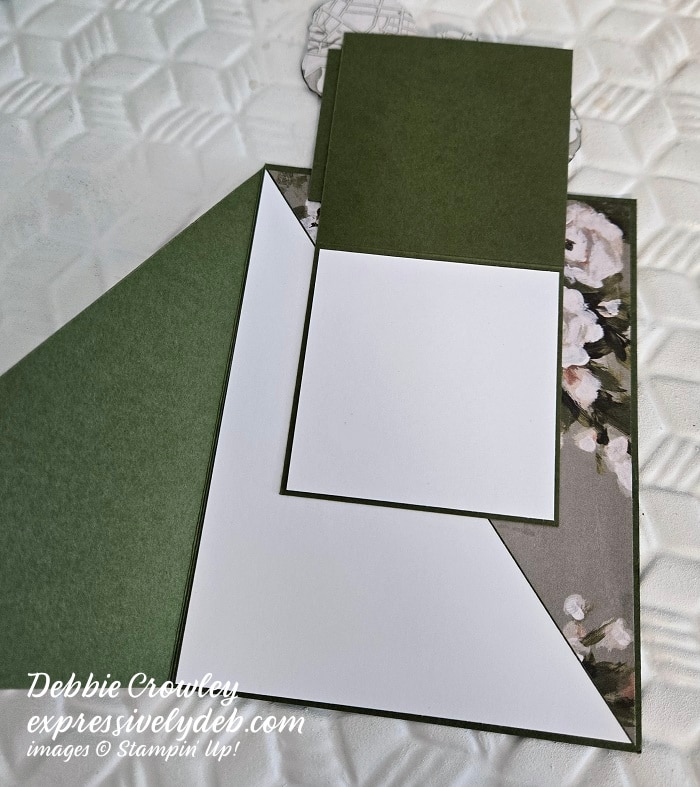
The card below shows the inside of the card, including the writing layer.
You can download the Tutorial below. Have fun with it!
Hello, and I’m sending much love to all of you wonderful Mom’s. Happy Mother’s Day!
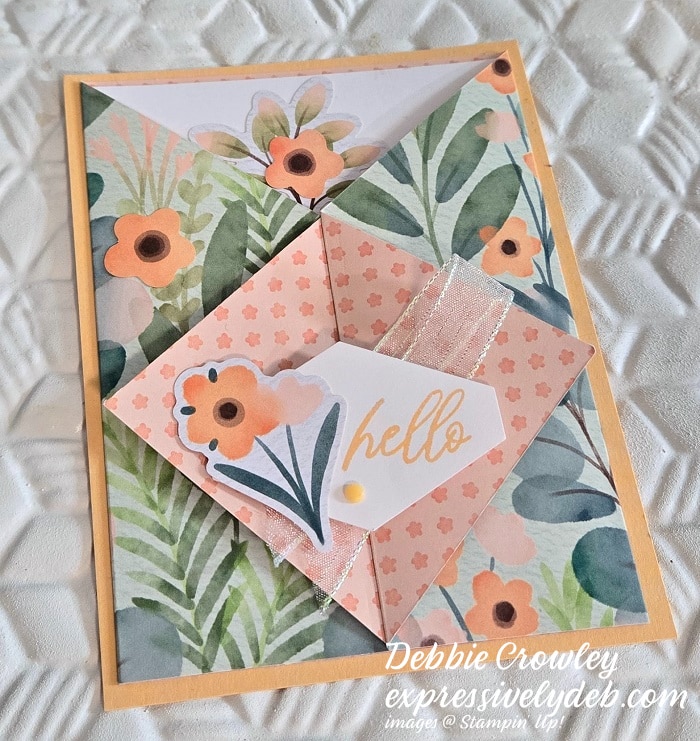
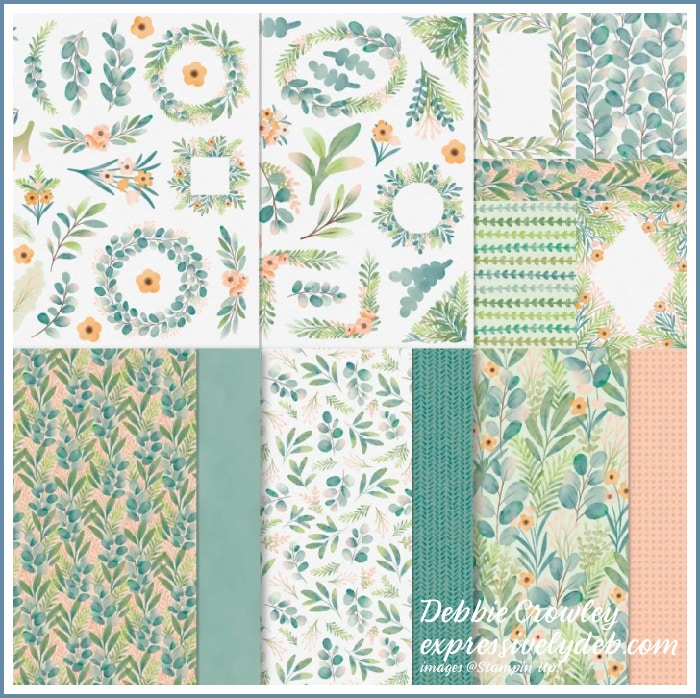
Here’s a quick and easy Fun Fold card featuring the Frames & Flowers Specialty Designer Series Paper. The Paper Pack has three sheets of double-sided designs. There are floral and greenery designs on one side, and all-purpose patterns on the other. It also includes three sheets of die-cut elements that you can use on cards or to frame photos on scrapbook pages. As a fun plus, some of the die-cuts are sized to fit card fronts. This makes it easy to create quick, beautiful cards.
Frames & Flowers DSP Pack – #163765
The Frames & Flowers DSP is on pages 28 and 29 of the new Catalog. The samples in the catalog showcase pretty packaging and tags. I thought it would be fun to create this Front Flap Fun Fold design. It showcases two sides of one of the sheets of the Designer Series Paper, die cut elements, and is quick and easy to complete.
So, let’s make a card!
Parts & Pieces
I cut a Peach Pie cardstock card base 4 1/4″ x 5 1/2″.
The Designer Series Paper layer is 12″ x 5 1/4″.
Score the patterned paper at 2″, 4″, 8″, and 10″.
Make a small pencil mark on each side of the scored pattern paper layer at 3 1/8″ down from the top.
Cut diagonally from the second score line at the top to the 3 1/8″ pencil mark on each side of the patterned paper.
Cut diagonally from the 3 1/8″ mark to the second score line at the bottom on each sice of the patterned paper.
Take a look at the cutting diagram below. Note that this diagram is not to scale.
Fold the patterned paper layer as follows: First score line is a mountain fold, second score line is a valley fold, third is a valley fold and the last score line is a mountain fold.
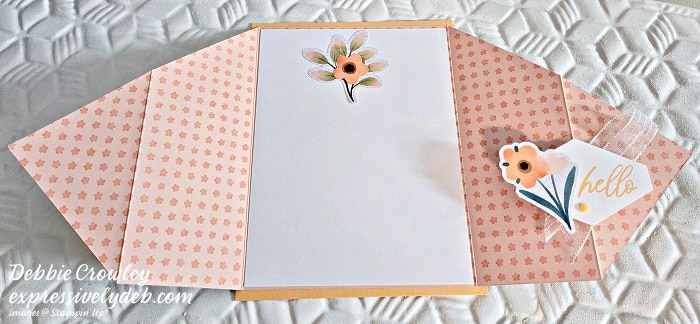
Adhere the center portion of the DSP layer to the card base.
Adhere the Basic White writing layer to the center of the DSP layer.
Embellish the the card with the coordinating die cuts and add your sentiment layer.
You can download and print a PDF version of the instructions for this card here, or click the blue button below.
This card is one of many designs you can create using the Frames and Flowers Specialty DSP. For more card making alternatives for this pretty patterned paper, take a look at page 22 in the Annual Catalog. It’s always fun to use a sketch for inspiration.
So, cut a simple one layer card base, score and cut a piece of patterned paper, add a center writing layer, and create something fun to say “hello”.
… the only limitation is your imagination.
Product Details
May, 2024 Customer Card Kit
My Customer Mini Card Kit for May focuses on products from the Unbounded Beauty Product Suite. I’m showcasing the Unbounded Beauty Designer Series Paper, along with the Flowers of Beauty Dies. The Kit Details are listed below.
You will receive everything you need to put the cards together as I’ve designed them.
The kit will include the card bases, layers, die cuts, embellishments, sentiment layers, and envelopes.
I cannot send stamped images, but you will have a sentiment layer you can customize to a stamp you already own, or you can purchase the Bright Skies Bundle.
You will also receive a printed PDF Tutorial, along with a video link so you can put the cards together along with me.
You will automatically receive this kit with a minimum product purchase of $50.00 through my online store.
Here’s a Product Premier from the new Annual Catalog. I hope you enjoy this simple Easel Fun Fold card design that showcases the new Country Birdhouse Bundle and Country Woods Designer Series Paper. Along with the card inspiration, I put together a video and PDF Tutorial that you can download to create your inspired Easel Fun Fold Card.
The Country Birdhouse Bundle includes the stamp set and dies. The Bundle focuses on cozy birdhouses adorned with flowers and an adorable bird. There’s so much you can create using the birdhouse as your centerpiece for cards and scrapbook pages. Then add some extra decoration to your scenes with the wood details. This Bundle lets you mix and match each detail to create individual designs every time you use it.
I had a little fun decorating the inside of the card using more of the flowers. This little birdhouse has its own private “garden”.
The Country Woods 12″ x 12″ Designer Series Paper is a “must have”. Rustic and sophisticated, I promise you this paper pack will be your new “go to”. You can create beautiful backgrounds for cards and pages, and dress it up with ribbons, embellishments and die cuts. Or layer it, add a sentiment and an embellishment or two, and you have a beautiful quick and easy card to share.
Not only is the Country Woods Designer Series Paper great for backgrounds, I used it to die cut my birdhouses. I love the cozy, rustic vibe.
Both cards are identical in design. I just switched up the elements and colors. The sentiments in the Country Birdhouse Stamp Set have a sweet mixed font. Simple!
You can click on the blue button below to download and print a PDF Tutorial with project details and a complete supply list.
You can click on the button below to create the easel card along with me. Watch the Video Tutorial.
So, die cut a birdhouse, bird, and lots of flowers. Add a few rustic patterned paper layers, and create a fun and pretty happy birthday wish to share.
… the only limitation is your imagination!
Product Details
May, 2024 Customer Card Kit
My Customer Mini Card Kit for May focuses on products from the Unbounded Beauty Product Suite. I’m showcasing the Unbounded Beauty Designer Series Paper, along with the Flowers of Beauty Dies. The Kit Details are listed below.
You will receive everything you need to put the cards together as I’ve designed them.
The kit will include the card bases, layers, die cuts, embellishments, sentiment layers, and envelopes.
I cannot send stamped images, but you will have a sentiment layer you can customize to a stamp you already own, or you can purchase the Bright Skies Bundle.
You will also receive a printed PDF Tutorial, along with a video link so you can put the cards together along with me.
You will automatically receive this kit with a minimum product purchase of $50.00 through my online store.
I am Debbie Crowley and welcome to my blog. Here you'll find fun projects that are sure to inspire you. I hope you'll stop
by often and leave a comment or two. To contact me, you can email me at: expressivelydeb@gmail.com
Current Catalogs
What are you looking for?
The content of this blog is the sole responsibility of Debra Crowley, expressively deb.com, as an Independent Stampin' Up! Demonstrator. The use of and content of classes, services or products offered is not endorsed by Stampin' Up!


 alt=”165196″ />