It’s September already!
A new month and a lot of new Stampin’ Up! Notes and News. That’ll all be at the end of this post. Let’s talk about today’s card.
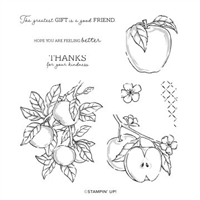
This is a CASE of Stampin’ Up!’s flyer for the Apple Harvest Bundle. The Apple Harvest stamp set featured in the July-December Mini Catalog (page 54), now has companion dies. If you’ve purchased the Apple Harvest stamp set, you can purchase the coordinating Apple Blossom dies. If you haven’t, and you really want to add a sweet refresh to your stamp and die bundles, the Apple Harvest Bundle is for you. As with all Bundles, the 10% off retail for bundle pricing applies.

Today’s Card Pieces And Parts
- The Apple Harvest Bundle is beautiful. The stamps are “open” making them perfect for ink blending and coloring.
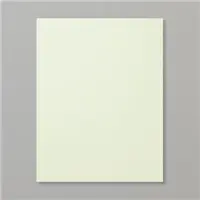
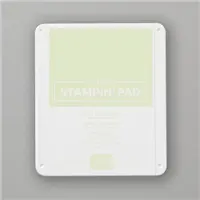
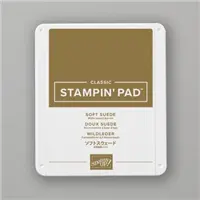
- I stamped the apple images onto Soft Sea Foam cardstock with Soft Suede ink and die cut them with the coordinating die.
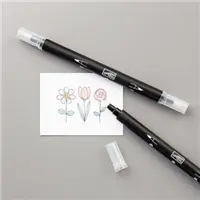
- A Blender Pen and some Soft Sea Foam ink let me spread some color shading onto the edges of my stamped apples. I followed the lines in the stamp, because an artist I am not!
- I also used Soft Sea Foam ink and my Blender Pen to add color to the apple leaves.
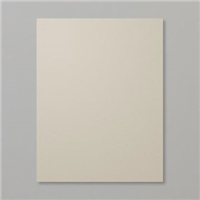
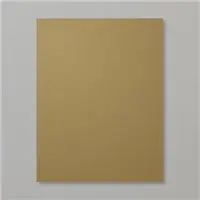
- The only other stamped image is the sentiment. It’s stamped with Soft Suede ink onto a Sahara Sand die cut sentiment label. The sentiment die is one of the Apple Blossom Dies.
- Today’s card is soft and subtle.

Assembling The Card
- My Very Vanilla card base is 4 1/4″ x 11″, scored at 5 1/2″.
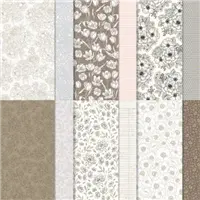
- The Abigail Rose DSP striped layer is 5 1/2″ x 3″.
- The delicate scalloped edges, apple tree branches and apple blossoms are all die cut using the Apple Blossom Dies.
- Before assembling my card elements, I attached the scalloped borders to each side of the DSP layer.
- I ran a thin line of glue along the back edges of the layer and carefully attached the scalloped edge using my Take Your Pick Tool to guide the scallops to the glue line.
- This prevented me from having glue on my fingers.
- You will have about 1/2″ of the scalloped edge longer than the card layer. Just trim it off.
- I attached the decorated scalloped layer to the card front.
- I assembled the die cut tree branches, glued them in place, then attached the apple blossoms as shown.
- The blossoms and sentiment layer are attached with Dimensionals.
- I added a small pearl to the center of the apple blossoms.

So, stamp some green apples, add a delicate scalloped edge layer and a few apple blossoms and create something soft and pretty to make someone smile.
… the only limitation is your imagination!

Today’s Product Details

Stampin’ Up! Notes & News – September, 2022
Perfect Partners Promotion
- Stampin’ Up! created six new dies that coordinate with stamp sets in the 2022–2023 Annual Catalog and the July–December 2022 Mini Catalog. These coordinating dies will only be available during this promotion. These stamp sets and dies are available separately or as a bundle.
- You can download the flyer for all the details. Click the image above or you can click here.
Weekly Deals

- Stampin’ Up! is bringing back Weekly Deals.
- Each week during the month of September there will be a “featured weekly deal”.
- Way back when they’ve always been great deals, so keep watching.
- Stampin’ Up! will announce each Weekly Deal on September 1st, 8th, 15th and 22nd.
- The Weekly Deal Promotion ends September 28th.
World Card Making Day Craft Along Event

Join Stampin’ Up! on October 1st to celebrate World Card Making Day. During this free virtual event we will come together as a crafting community to do what we all love—make cards!
Here are the details:
- Anyone can register.
- The FREE event will be on October 1, 2022 from 4:00om – 6:00 pm ET
- This is an online event, and it’s FREE.
- Registration Dates are from August 11, 2022 through October 1st, 2022
- You don’t have to register for this event, but registering will keep you in the loop as the event approaches.
- You can click here to register.
SHOP Stampin’ Up! WITH ME

