
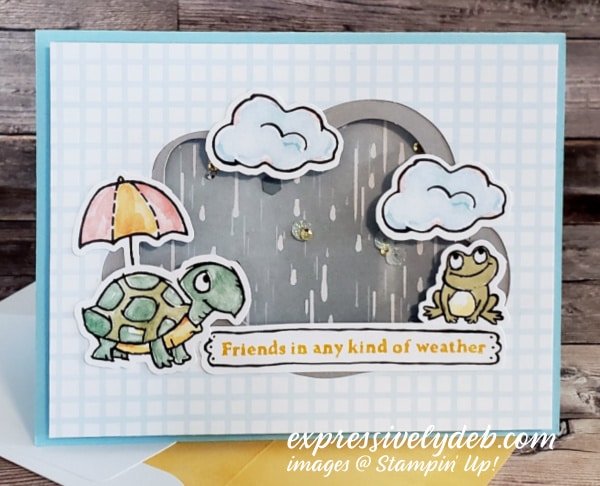
Today, I’m showcasing the February Sunshine & Smiles Paper Pumpkin Kit. I followed the same design as instructed in the Kit, but created shaker cards for each of the three card designs.
Paper Pumpkin is a monthly subscription Kit that contains all the suppies you need to create cards, packaging, 3-D projects, tags and more. What’s in the Kit is a suerprise but you will get a clue of what to expect.
This month, the Kit is adorable. It coordinates with the Rain Or Shine Suite in the January-April 2023 Mini Catalog, shown on pages 50 and 51.
If you haven’t subscribed to Paper Pumpkin, you can get all the “how to” information by clicking here.
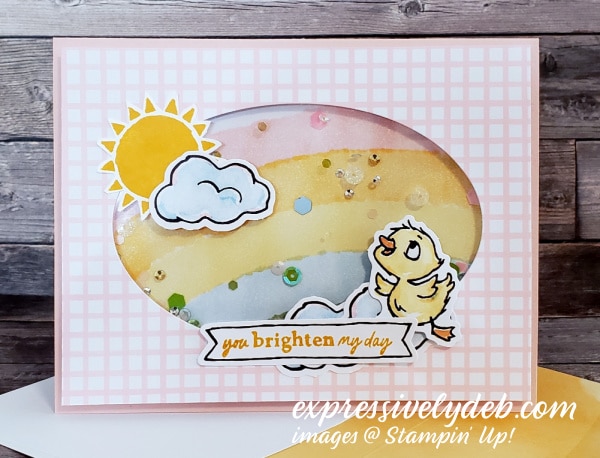
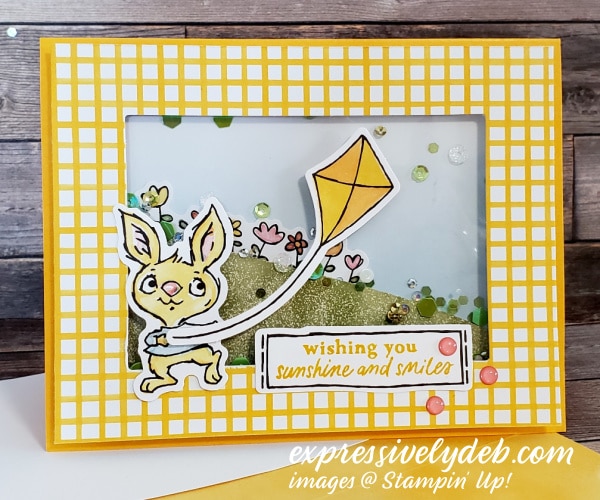
The card above is a quick and easy put-together. A few layering cuts to the original card in the Kit, the addition of a Acetatate Window Sheet layer, some sparkling jewels, and a card base finish this card nicely. The sun, clouds, flowers, sun, animals, and sentiment layer are all in the Paper Pumpkin Kit. Just attach them to your card front.
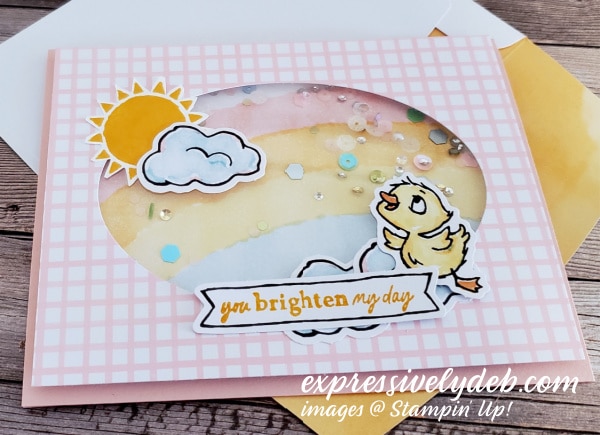
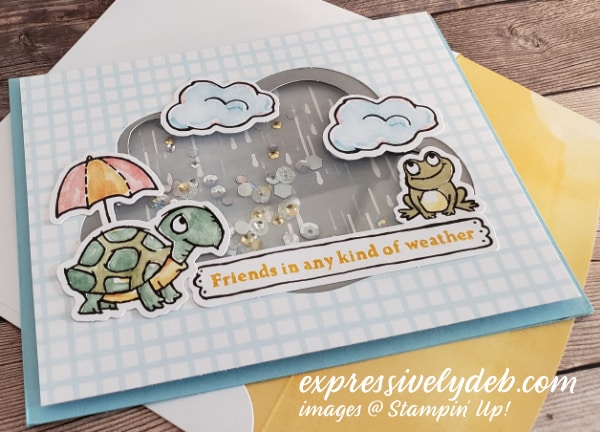
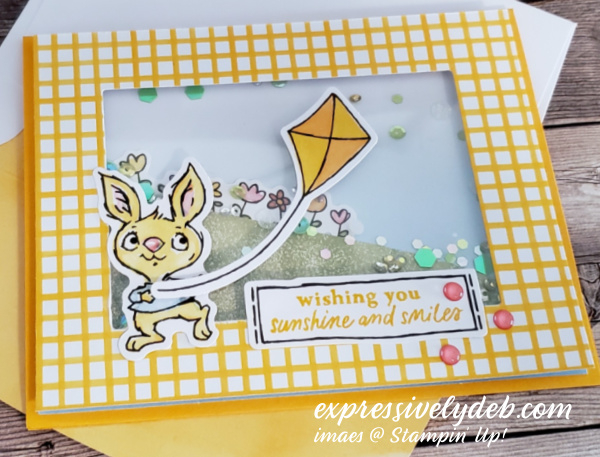
The third card from the Kit is as simple as the card above. The card above has an oval top layer and the card below is a rectanble. All of the card front elements are from the Paper Pumpkin Kit.
As always, you can create similar cards to these with supplies you already have. It’s fun to have your Paper Pumpkin Subscription in place. When that little box arrives at your home, it’s exciting to open, line up the supplies, grab your adhesive and start creating. As you know, when you start, your creative inspiration will kick into high gear. You’ll be amazed at what you can create! Paper Pumpkin is great for card making beginners. You have everything you need, inclusing detailed instructions.
If you think it’s the time to subscribe to the monthly kit, you can get this kit refill by clicking here. The Refill includes everything except the stamp set and ink spot. You can cancel your subscription at any time.
Here’s The Quick “How-To”
- If you’ve never made a shaker card, give it a try. It’s easier than you might think.
- For each of the cardss above, I cut a cardstock card base 5 1/2″ x 8 1/2″ and scored it at 4 1/4″. (I used Balmy Blue, Blushing Bride, and Mango Melody cardstock for these cards).
- I cut the front panel of the Paper Pumpkin cards to 5 1/4″ x 4″.
- Rather than cutting 1/4″ from the top and side, I cut 1/8″ off each side (the original card front is 4 1/4″ x 5 1/2″). By cutting an eigth of an inch from each side, the oval, rectangle and Diorama shapes are centered on the card front.
- I attached a Window Sheet to the back of the card front frame. The window sheet measures 3 3/4″ x 5″.
- I added Foam Strips to the perimeter of the frame opening (on the back), keeping the strips as close to the window opening as possible, but making sure not to go over the edge of the inside of the frame.
- I also added Foam Strips around the outside of the back of the frams.
- The coordinating printed layers (raindrops, rainbow, and flower meadow scenes) are attached to the center of the card base front.
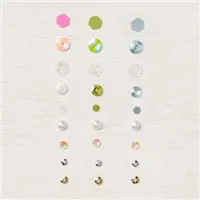
- Sprinkle some “For Everything Fancy Sequins” on the center of the card front. (You don’t need a lot, just a sprinkle).
- Remove the backing from your foam strips on the Window Sheet layer, and attaach it to the card front over the sequins.
- Attach the elements and sentiment strip to the card front.
- Give your finished card a little “shake”.
So, sign up for Paper Pumpkin and pick up the refill kit for “Sunshine & Smiles”, and create a few fun shaker cards to share.
… the only limitation is your imagination!

Today’s Product Details


February Free Mini Card Kit

From now through February 28th, with a product purchase of $50.00 (before shipping and tax), you will receive a FREE Mini Card Kit along with a Video Tutorial link and Project Sheet to help you assemble the cards. The card bases, layers and elements are all included. You add your sentiments and assemble.
February Host Code YPA4DXBJ
If your order is $50.00 (before shipping and tax), please use the Host Code above when prompted. You will receive Rewards from me along with the Mini Card Kit featured above. If your order is over $150.00 (before shipping and tax), please do not use the Host Code. You will receive Stampin’ Rewards. You will also receive Creative Coins and the FREE Mini Card Kit from me.
Shop With Me


