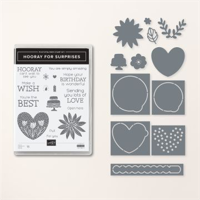
Happy Friday! Here’s some weekend inspiration. The Hooray For Surprises Bundle is a top favorite of mine. There are a lot of possibilities for creating a variety of projects in this set. The elements are clean and simple , as well as the sentiments.

My Inspiration
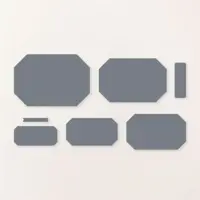
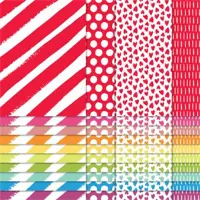
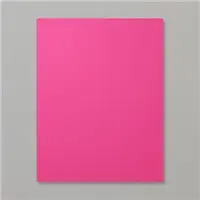
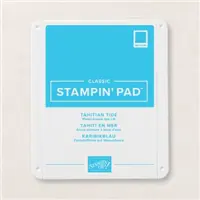
The inspiration for this card came from the Annual Catalog. The card is on page 97. I created a frame with the Countryside Corners Dies and the Brights 6″ x 6″ Designer Series Paper Pack. As I stroolled through the Paper Pack, Melon Mambo caught my eye. I haven’t used that color in a while, and I thought it would be fun. I went to my Color Coach to find some coordinating colors, and decided to go with Daffodil Delight, Granny Apple Green, and Tahitian Tide. You can download and print a copy of the current Color Coach here.

So, let’s make a card!
Parts & Pieces

- I cut a Basic White cardstock card base 4 1/4″ x 11″, and scored it at 5 1/2″.
- The Melon Mambo cardstock layer is 4″ x 5 1/4″.
- The Basic White top layer is 3 3/4″ x 5″.
- I used the Countryside Corners Dies to create the patterned paper frame. It measures about 2 1/2″ x 3 1/2″.
- I stamped the flowers from the Hooray For Surprises stamp set and die cut them with the coordianting dies.
- The smaller Melon Mambo flower is a die cut from the Hooray For Surprises Dies.
- I punched a 3/4″ Basic White circle to attach under the small flower because I wanted the white to show through the die cut holes.
- I punched the leaves with Granny Apple Green cardstock.

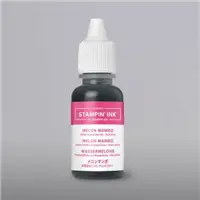
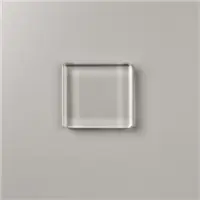
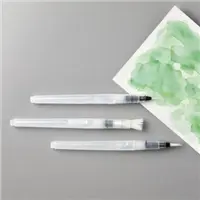
I got a little fancy, and splattered some Melon Mambo ink to the inside of the frame. I used a Water Painter, acrylic block, and a drop of Melon Mambo ink. Making sure the frame and surrounding white layer were covered, I tapped the inked brush end of the Water Painter lightly with my finger over the area I wanted the splatter. It was fun and a quick wipe of my acryic block made clean up easy. I used clear low tack tape to secure the covering to the layer.

There’s a lot of “technique” in today’s card: Stamping, Die Cutting, Layering, and Ink Splatter. With all of that going on, this is truly a simple card to put together. Sometines, we’re using our card making technique skills, and don’t realize we’re doing it. We’re simply creating our own unique masterpiece!
So, create a frame with two layering dies, attach it to a cardstock layer, add a few elements, and create a birthday card to send to someone special.
… the only limitation is your imagination!

FEBRUARY CUSTOMER CARD KIT GIFT
February Host Code – JYARZNJF

The February cards are showcasing the Everyday Details Dies along with the Delightfuly Eclectic Designer Series Paper.
- You will receive everything you need to put the cards together as I’ve designed them.
- The kit will include the card bases, layers, die cuts, embellishments, sentiment layers, and envelopes.
- I cannot send stamped images, but you will have a sentiment layer you can customize to stamps you already owm.
- You will also receive a printed PDF Tutorial, along with a video link so you can put the cards together along with me.
- You will automatically receive the kit with a minimum product purchase of $50.00 through my online store. When completing your purchase, you MUST use the Monthly Host Code that I provide in every blog post. (Feel free to reach out to me with any questions you may have).
- If your order is more than $150.00, plese don’t use the Host Code. You will receive rewards directly from Stampin’ Up!, and you will also receive the mini kit from me.
SHOP WITH ME


