
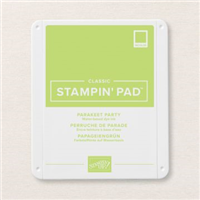
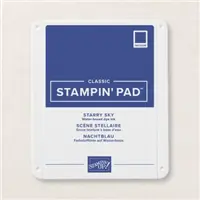
My card is a tribute to three of the 2022-2024 In Colors – Orchid Oasis, Parakeet Party, and Starry Sky. They’ll be leaving the Stampin’ Up! color family on April 30th. The New Annual Catalog will launch on May 1st, when we’ll be saying hello to five new on trend colors. This transition is usually bittersweet for me. Orchid Oasis and Starry Sky are up there with my favorites. I’m sure, though, when the new colors arrive, I’ll have new favorites.

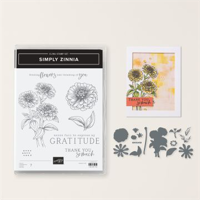
I thought it would be fun to pair Orchid Oasis, Parakeet Party, and Starry Sky with the Simply Zinnias Bundle. I included a little ink stenciling in my design, stamped the Zinnias, blended the color with a Blender Pan, and die cut them with the coordinating die. Today’s project is clean and simple. I enjoyed “stenciling”, and think you will, as well.
So, let’s make a card!
A Quick And Easy How To

- Under all of these “preparation layers” is a Basic White top fold card base. It measures 4 1/4″ x 11″, and is scored on the long side at 5 1/2″.

- I created a “frame” for the front of my card with Post-It Masking Tape. (It’s 2″ wide and you can get it on Amazon. It’s re-usuable. One roll lasts a long time.
- I placed the masking tape so I would have about a 3/4″ covered border around the card front.
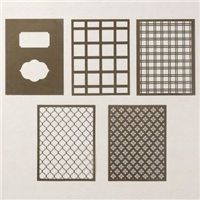
- The Decorative Mask (stencil) is attached with low tack tape over the masked card front.
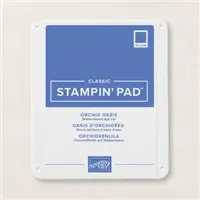
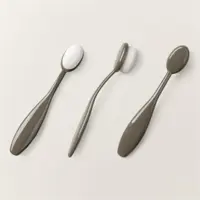
- I added ink to the exposed area of the card front with Orchid Oasis ink and a Blending Brush.

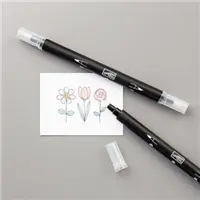
- I stamped the Zinnias with Orchid Oasis and Starry Sky ink and used a Blender Pen to lightly shade the flowers.
- I attached the flowers and leaves with Dimensionals.
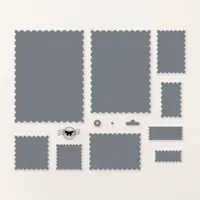
- The sentiment is stamped with Starry Sky ink, and die cut with one of the Perennial Postage Dies.
So, what do you think? Stenciling, or Masking, is fun and gives you the opportunity to truly express your creativity. I was a bit conservative in my inking approach today, but I did shade my panel! If you notice, the ink on the right side of the stenciled area is darker than the left side. I felt like an artist!
You don’t need a stencil to blend colors. You can create beautiful backgrounds using ink and a blending brush. Create a beautiful sunset, a mountain range, or a beach! Try it.
So, pull out some fun colors, ink up your blending brush, and create a beautiful background. Then add a black or white stamped silhouette image and create your masterpiece.
… the only limitation is your imagination!

Today’s Product Details
March Customer Card Kit

The March cards are showcasing the Perennial Lavender Designer Series Paper.
- You will receive everything you need to put the cards together as I’ve designed them.
- The kit will include the card bases, layers, die cuts, embellishments, sentiment layers, and envelopes.
- I cannot send stamped images, but you will have a sentiment layer you can customize to a stamp you already own.
- You will also receive a printed PDF Tutorial, along with a video link so you can put the cards together along with me.
- You will automatically receive this kit with a minimum product purchase of $50.00 through my online store.
- This card kit will be available through March 31st.
SHOP WITH ME





This is a beautiful card!! I’m going to miss these colors; they are so pretty!!
Thank you so much, Barbara. And, thank you for taking the time to leave me a comment. It’s so appreciated.
Absolutely beautiful! Love these blues!!
Thank you, Monica. I know you are a “blue girl”, like me. I appreciate your comments always.