Nature’s Sweetness Product Premier And A Fun Inking Technique

I hope you’re enjoying some crafty time this weekend. Here’s another Product Premier Post for your inspiration.

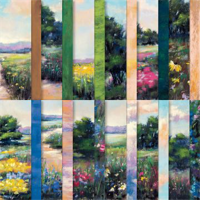
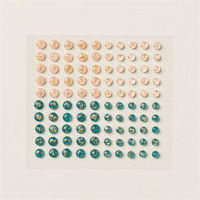
Did you know that the images on the top layers of these cards are cocoa beans? I actually looked up a picture of a cocoa bean and was amazed at the accuracy of Stampin’ Up!’s concept designers’ drawings. The Product Suite I’m showcasing today is called (and appropriately named), Nature’s Sweetness! It’s on pages 40-43 in the new January-April 2024 Mini Catalog.
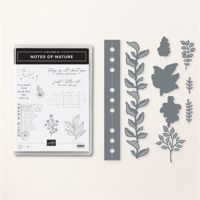
I’m featuring the Notes of Nature Bundle, and the star of my cards is the Nature’s Sweetness Specialty Designer Series Paper. This Bundle and patterned paper pack was on top of my Wish List.
You can click on the thumbnail images at the end of this post for the product details.

Card Parts & Pieces
- I cut a Pecan Pie cardstock card base 4 1/4″ x 11″ and scored it at 5 1/2″.
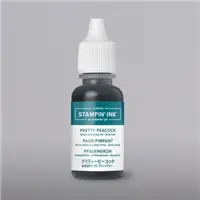
- The Pretty Peeacock cardstock layer is 4 1/8″ x 5 3/8″.
- The cocoa bean patterned paper layer is 4″ x 5 1/4″. You can click on the blue botton below to download the PDF Tutorial for tips on how to cut the patterned paper layers.
- I stamped the sentiment onto a die cut Deckled Circle.
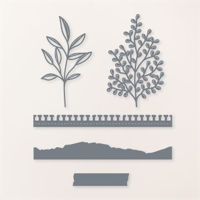
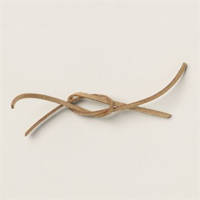
- The element cluster under the circle combines three strps of the Faux Leather Trim (part of the Nature’s Sweetness Product Suite), and a Pretty Peacock die cut leaf sprig.
- I die cut the Pretty Peacock element using one of the dies in the Notes of Nature Bundle.
- The Pecan Pie ink splatter on the patterned paper layer was my inspiration to add some Pretty Peacock ink splatter.

- When I decided to add another color to the patterned paper layer, I referred to my Color Coach and chose Pretty Peacock.
- You can download a copy of the 2023-2024 Color Coach here.

These cards were quick and easy. There are two sheets of the cocoa bean drawings in the Nature’s Sweetness Specialty Designer Series Paper. By strategically cutting the patterned paper, you will have 12 card layers. You can coordinate the cocoa bean drawings with cardstock layers, or cut them to create a 3 1/2″ x 5″ note card set. Wouldn’t this be a beautiful gift?
The layer cutting measurements are in the PDF Tutorial below. Click the blue buttonto download a copy.

So, cut a few cocoa bean drawings, add a cardstock layer and a “leather” element cluster, splatter some ink, and celebrate the sweetness of nature!
… the only limitation is your iimagination!

Product Details


Dowload The New January – April 2024 Mini Catalog

Now that you’ve seen the amazing new products in the Mini Catalog, take a look at the Sale-A-Bration Brochure and get even more crafty inspiration. All of the products in the Sale-A-Bration Brochure are free with a qualifying product purchase.
Download The Sale-A-Bration Brochure

Join The Stampin’ Up! Comunity of Papercrafters

I would love to welcome you to my Team and Stampin’ Up! Click here or on the image above for all the details.
January Host Code – MB9N2AD9
January Monthly Free Customer Card Kit

- During the month of Januaryr, with a minimum product purchse of $50.00 from my Online Store, you will receive all of the supplies to create these two cards as I’ve designed them, along with a PDF Tutorial and video tutorial to make the cards along with me.
- You will need your favorite adhesive and sentiment stamp.
- To receive this FREE Card Kit, you must use the Host Code above when placing your order.
- If your order is $150.00 or more, please don’t use the Host Code. You will receive Stampin’ Rewards directly from Stampin’ Up!, and you will also receive the FREE Card Kit from me.
SHOP WITH ME