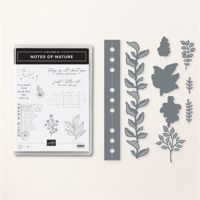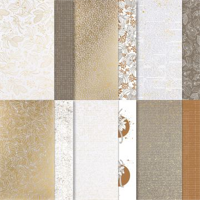
Here’s a quick and easy card template you can use with your favorite patterned paper, some coordinating cardstock, and a pretty stamp and die Bundle. I chose the Nature’s Sweetness Designer Series Paper and the coordinating Notes of Nature Bundle to use with this card design. It’s quick and easy.
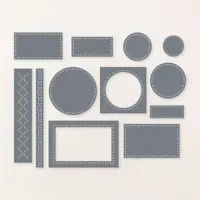
If you want to spend some time in your craft space , and need some inspiration, here it is. Just do it, right? Look through your patterned paper and choose two coordinating patterns. Match up some cardstock. Now go into your die inventory and pick out a die that has some length, add a few smaller filler dies, and decide on a sentiment layer.
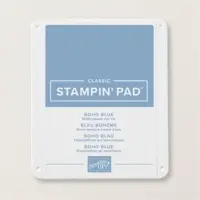
I wanted to add a little color to my Pebbled Path and white color palette, so I went to my Color Coach. I liked the Pebbled Paeh, Boho Blue, and Misty Moonlight combination, so I tried it. You can download a copy of Stampin’ Up!’s current Color Coach here.

Now that you have everything you need, let’s make a card!
Parts & Pieces

- The cardstock card base is 4 1/4″ x 11″, scored at 5 1/2″.
- On the 11″ side of the card base, cut off 1 1/2″, then cut off 2 1/2″.
- Cut a patterned paper layer 4 1/8″ x 5 3/8″ for the inside of the card base.
- Cut a coordinating patterned paper layer 2 3/8″ x 4 1/8″. This is for the 2 1/2″ cardstock layer you cut off the card base. This wioll be the vertical front panel.
- Cut two patterned paper layers 1 3/8″ x 4 1/8″. These are for the top and bottom front horozontal panels.
- Adhere the patterned paper layers to the card front as shown.
- Attach the vertical panel to the top of the card base about 5/8″ dpwm from the top of the card base.
- Add adhesive to the back of the bottom of the vertical layer, place the horizontal layer along the bottom of the card base and attach the bottom of the vertical layer to the top of the bottom horizontal layer.
- Attach your die cut elements and sentiment as shown.
I cut a Basic White cardstock writing layer 2 1/4″ x 4″ and carefully attached it to the inside of the card making sure it is under the vertical card front panel.

Once you make one of these, I promise you’ll see how easy it is. It’s a fun one to put together.
Have fun in your craft space, and remember …
… the only limitation is your imagination!

Product Details
February Customer Card Kit Gift
February Host Code – JYARZNJF

The February cards are showcasing the Everyday Details Dies along with the Delightfuly Eclectic Designer Series Paper.
- You will receive everything you need to put the cards together as I’ve designed them.
- The kit will include the card bases, layers, die cuts, embellishments, sentiment layers, and envelopes.
- I cannot send stamped images, but you will have a sentiment layer you can customize to stamps you already owm.
- You will also receive a printed PDF Tutorial, along with a video link so you can put the cards together along with me.
- You will automatically receive the kit with a minimum product purchase of $50.00 through my online store. When completing your purchase, you MUST use the Monthly Host Code that I provide in every blog post. (Feel free to reach out to me with any questions you may have).
- If your order is more than $150.00, plese don’t use the Host Code. You will receive rewards directly from Stampin’ Up!, and you will also receive the mini kit from me.
SHOP WITH ME


