
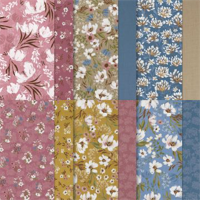
Hey there! I hope you can spend some weekend time in your craft space. My inspirtion card showcases a Sneak Peek at the new Rgal Winter Suite Collection. It’s in the upcoming September-December, 2024 Mini Catalog. Aren’t the colors in the Regal Winter 12″ x 12″ Designer Series Paper stunning? A “Regal” color palette without a doubt.
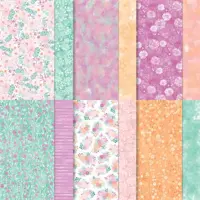
I wanted you to see all of the patterns in the DSP pack, so I prepared a swatch card. The designs on the left side of the swatch card are the floral designs, and the patterns on the right are the reverse side of the corresponding design.

A Warm And Regal Color Paette
Below are the coordinating colors in the Regal Winter DSP. Once you see the actual patterned paper, you’ll add your favorite colors.

If you take a closer look at my card below, I included Lost Lagoon and Balmy Blue mixed with Blackberry Bliss. It’s always fun to mix in colors. When I took a look at the floral pattern, I saw Lost Lagoon and Balmy Blue. It wouldn’t surprise me if you come up with other colors you can add.


The Regal Floral Bundle includes a Cling Stamp Set that is “Distinktive”, as well. The shading in the stamped images is beautiful. The Regal Floral Dies include the unique frame die I used today. The Die cuts both the embossed edge sentiment layer, and an embossed edge frame. As you can see, they’re two separate pieces.
Below is a sketch I created. Take a look at some of the supplies you already have and create your version of this card. The cutting dimensions are below.

Are you ready to make a card?
Parts & Pieces

- I cut a Blackberry Bliss card base 5 1/2″ x 8 1/2″, and scored it at 4 1/4″.
- The white mat layer is 4 1/8″ x 5 3/8″.
- The patterned paper layer is 4″ x 5 1/4″.
- I die cut a Basic White and Blackberry Bliss sentiment layer using the large frame die from the Regal Floral Dies. It measures about 2″ x 3 1/2″.
- Under the right corner of the sentiment layer is a strip of Pretty Peacock DSP. It’s 3 1/2″ x 1/2″. I attached it about an inch up from the bottom and about 1/4″ in from the right edge of the patterned paper layer
- I cut the lacy strip with a die from the Regal Floral Dies. It measures about 3 1/2″ x 3/4″. I glued this strip over the Pretty Peacock strip as shown.
- I attached the white stamped sentiment layer to the center of the card front, covering part of the Pretty Peacock and White strips, as shown.
- Then, I attached the Blackberry Bliss frame around the sentiment layer.
- I stamped and die cut two leaf sprays and attached them to the sentiment layer as shown.
- I added a Pretty Peacock Regal Foiled Dot to embellish.
To finish the card, I stamped an image from the Regal Floral Stamp Set on the inside and added a sentiment.

A New Catty Filled With Holiday Products
The upcoming September-December, 2024 Mini Catalog is filled with beautiful new products. I know you will be inspired. Those who have placed orders with me over the past six months will automatically receive a catalog. The customer ordering period begins on September 4th.
So, use the Sketch above, find that one beautiful piece of patterned paper, add a large sentiment layer, a few accent strips, and create something to share with someone special.
Until next time, remember …
… the only limitation is your imagination!

Designer SEries Paper Sale

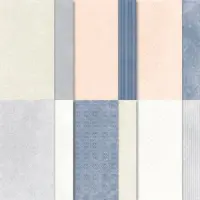
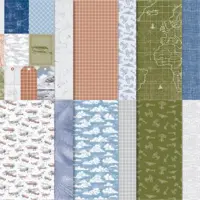
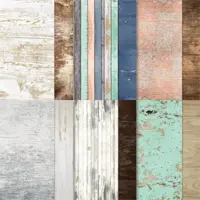
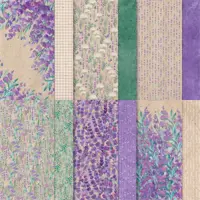
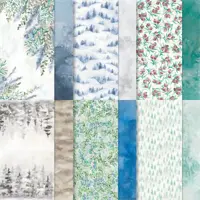
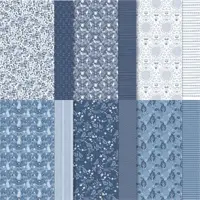
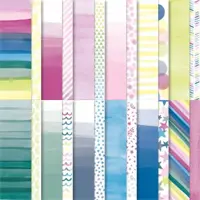
You can click on the images below for details on the current Designer Series Paper Sale.
Sale: $10.62
Price: $12.50
Sale: $10.62
Price: $12.50
August, 2024 Customer Card Kit

This is a Fall-Themed Kit that features the Autumn Leaves Bundle. You will receive your Kit automaically with a minimum product purchase of $50 through my online store at Stampin’ Up! The Kit will include:
- Everything you need to put the cards together as I’ve designed them;
- Card bases, layers, die cuts, embellishments, sentiment layers, and envelopes;
- I cannot send stamped images, but you will have a sentiment layer you can customize to a stamp you already own, or you can purchase the Autumn Leaves Bundle through my Online Store.
- A printed PDF Tutorial, along with a video link so you can put the cards together with me.
- This card kit will be available through August 31st.
Redeem Bonus Days Coupons

You have until August 31st to redeem your Bonus Days Coupons. You should have received an email from Stampin’ Up! shortly after you placed your order in July. This email contains a Coupon Code. When you place your order in August, you will be prompted to put in the Coupon Code(s). If you have more than one Coupon Code, enter them in the space provided separated by a comma. The discount will appear when you check out.
SHOP WITH ME








So pretty and vibrant!!
Thank you, Monica. The vibrancy is what I loved about this paper.
Gorgeous paper. Can’t wait to get this bundle.
Ruby, thank you for your comment. I agree. This DSP pack is beautiful.