Hello stampers! I’m back in my craft room planning a few Sneak Peek posts. The new January – April Mini Catalog and Sale-A-Bration Brochure will launch on Thursday, January 4th. There are new and on trend Bundles, stamp sets, nesting dies, and a surprise or two waiting to be explored. Along with the “Mini”, the Sale-A-Bration Brochure is filled with new and, as always, amazing Designer Series Paper, a couple of new stamp sets, and more. The Brochure products are free with a qualifying purchase.
Focus On The Paper
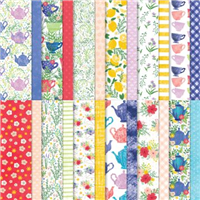
I thought this simple card layout would be perfect to showcase a few of the patterns from the new Sunny Days Designer Series Paper. It’s free with a $50 proeduct purchase. The color combination is a perfect mix of bright and subtle.
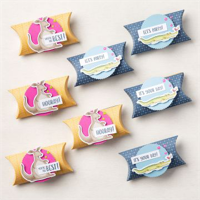
I paired the patterned paper with the Horray For Surprises Bundle. This is one of those Bundles that you will use time and again. You can celebrate a birthday, say hello, and send love or congratulations. There’s a very cool surprise in the die set. You can create a “pull up” tab to reveal a surprise image or sentiment. It’s a fun Bundle with lots of possibilities.
So, let’s make a card!
Parts & Pieces
I used the Thick Basic White cardstock for the card base. It’s 8 1/2″ x 5 1/2″ , scored at 4 1/4″ on the long side.
The Petal Pink patterned paper layer covers the card front. It’s 5 1/2″ x 4 1/4″.
There are two Pool Party cardstock card layers. One is a 3 1/8″ square, and the other is 2 1/8″ x 3 5/8″.
The floral patterned paper layer is a 3″ square, and the diagonal striped patterned paper layer is 2″ x 3 1/2″.
The die cut elements are from the dies in the Horray For Surprises Dies.
I stamped the sentiment with Poppy Parade ink and fussy cut it. The sentiment font is clean and simple.
I stmaped the inside of the card with another sentiment from the stamp set, and added a small stamped image to finish it off.
My last customer catalog mailing is on its way. The Horray For Surprises Bundle in on page 13. If you’ve received your catalog, take a look and imagine what you can create with it.
Stay tuned for more Sneak Peeks in the upcoming week.
So, cut up some “hppy and bright” Designer Series Paper, add some layers, a few die cut elements, and create a card full of smiles and love.
My first Sneak Peek for the upcoming January – April Mini Catalog and Sale-A-Bration is the Bright Skies Bundle. There’s a coordinating die for each of the photopolymer stamp images, along with extra cloud and flower dies, and a little lightening bolt.
In my featured card, the sun peeking behind the clouds is a fun illustration of sunshine after a storm. The sentiments, images and dies in the Bright Skies Bundle are sure to bring a smile to anyone having “one of those days”, or just to say “Hi”.
Pieces And Parts
I cut a Pool Party cardstock card base 4 1/4″ x 11″.
The clouds and raindrops “Sunny Days” Designer Series Paper is a FREE coordinating Sale-A-Bration item.
So, you can purchase the Bundle, add a pack of Dimensionals, and get the coordinating Designer Series Paper FREE.
The patterned paper layer is 4″ x 5 1/4″.
I die cut the clouds directly from the Designer Series Paper using the Bright Skies Dies. How easy and fun it is to mix th cloud patterns.
Notice the stitched detail on the die cut clouds. So pretty, even in a storm!
I stamped the sun with Daffodil Delight ink and cut it with the matching die.
The lightening bold and the flower are die cuts from the Bright Skies Dies.
Deciding what to choose for my first pre-order was difficult because there are so many beautiful Suites and Bundles in the new catalog. Putting the Bright Skies Bundle on my “A” List was an easy choice. I saw a lot of versatility in this fun Bundle and the coordinating FREE Designer Series Paper was definitely a plus.
Also, while my cfraft room is full of amazing stamp and die Bundles, there isn’t a cloud in the bunch. Bright Skies is meant to be for me.
Just A Note:
I will be sending out the new January – April 2024 Mini Catalog and Sale-A-Bration Brochures over the weekend. My customers should have them next week. If you would like a catalog, and don’t currently have a Stampin’ Up! Demonstrator, you can email me and I will get one out to you.
So, get ready to be amazed. The new products promise to dazzle you at every turn of the page. Remember to check back in on my Blog. I’ll have more Product Previews in the days ahead. And …
… the only limitation is your imagination!
fREE sHIPPING tOMORROW, dEC. 14TH
ENJOY FREE SHIPPING TOMORROW, DECEMBER 14TH.
December Host Code – UGVBTBBE
December Monthly Free Customer Card Kit
During the month of December, with a minimum product purchse of $50.00 from my Online Store, you will receive all of the supplies to create these two cards as I’ve designed them, along with a PDF Tutorial.
You will need your favorite adhesive and sentiment stamp.
To receive this FREE Card Kit, you must use the Host Code above when placing your order.
If your order is $150.00 or more, please don’t use the Host Code. You will receive Stampin’ Rewards directly from Stampin’ Up!, and you will also receive the FREE Card Kit.
Last Chance Product List
September – December Catalog Product Carty Over List
You can easily access all of the products by going to my Online Stors and clicking “Last Chance Products”. There, you will see the products, a description, and the discounted price, if applicable.
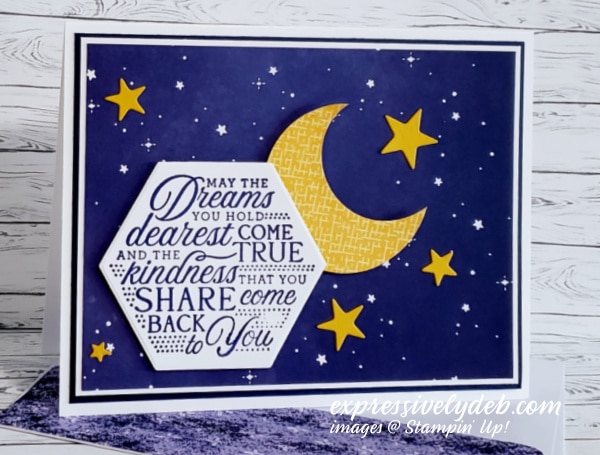
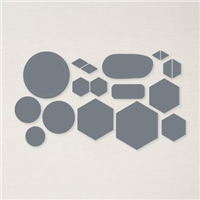
Today’s card is a CASE (acronym for “Copy And Selectively Edit”), from the January-April 2023 Mini Catalog. The Covered In Sunshine stamp set coordinates with the Beautiful Shapes Dies (Annual Catalog), which I have. I didn’t put much thought into getting these stamps, not only because I had the matching dies, but I love these sentiments. There are three large, mixed font, thoughtful and heartfelt sentiments, a sun, two shooting stars and a small “bright” star.
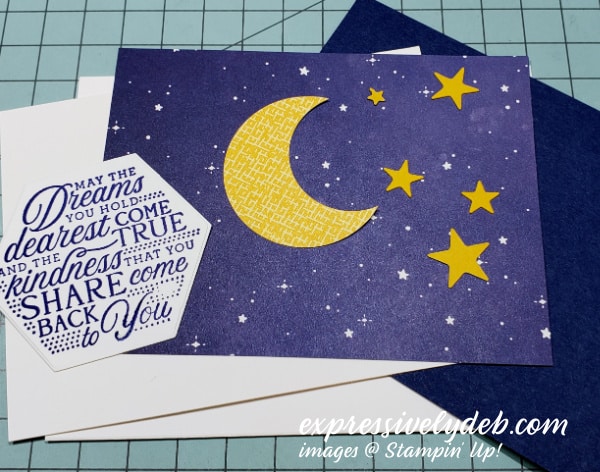
Today’s Card Parts & Pieces
I cut a Basic White card base 5 1/2″ x 8 1/2″ and scored it at 4 1/4″.
The Night of Navy cardstock layer is 4″ x 5 1/4″.
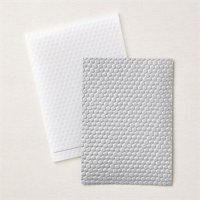
The Basic White mat layer is 5 1/8″ x 3 7/8″.
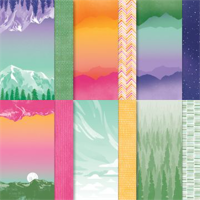
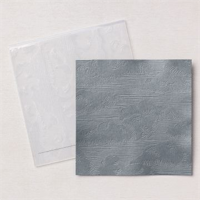
I cut the Designer Series Paper layer (from the “Enjoy The Journey” DSP pack) 3 3/4″ x 5″.
The sentiment is stamped with Night of Navy ink and die cut with one of the dies from the Beautiful Shapes Dies.
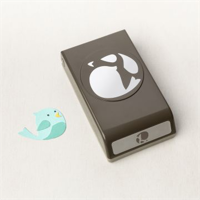
I used two circle dies to create the moon.
I die cut a full circle first, then used a smaller circle to cut into my original circle to create the “crescent” shape.
The stars are die cuts from my Stitched Stars dies.
I attached the sentiment and moon to my card fromt with Dimensionals.
So, fina a “starry sky” piece of patterned paper, create a crescent moon, add a sentiment and a few stars, and create a card full of good wishes and gratitude to send to someone special.
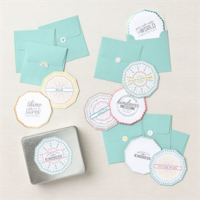
March Mini Card Kit With Bonus Insert Fun Fold Card (Center)
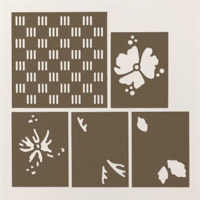
From now through March 31st, with a product purchase of $50.00 (before shipping and tax), you will receive a FREE Mini Card Kit along with a Video Tutorial link and Project Sheet so you can assemble the cards with me. The card bases, layers and elements are all included. You add your sentiment, and supply your favorite adhesive. This Mini Card Kit uses the Dandy Designs DSP. There’s a Fun Fold Bomus this month. I added a third card (in the center of the photo). It’s a quick and easy insert card. You can wtire your message and attach a gift card to the insert. They’re all quick, easy and fun to put together.
March HOST CODE – NTRWBBCT
If your order is $50.00 (before shipping and tax), please use the Host Code above when prompted. You will receive Rewards from me along with the Mini Card Kit featured this month. If your order is over $150.00 (before shipping and tax), please do not use the Host Code. You will receive Stampin’ Rewards. You will also receive Creative Coins and the FREE Mini Card Kit from me.
Online Exclusives
Don’t forget to check in on the current Online Exclusives. You can click the images below to see the new products.
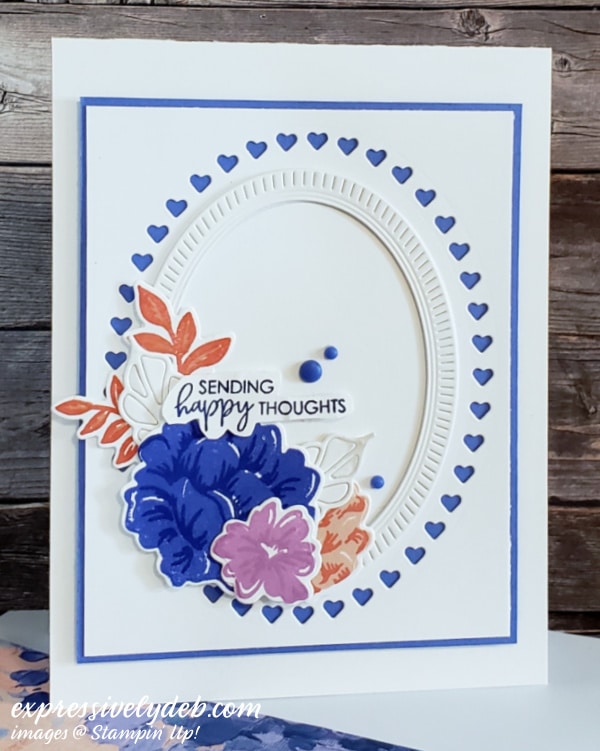
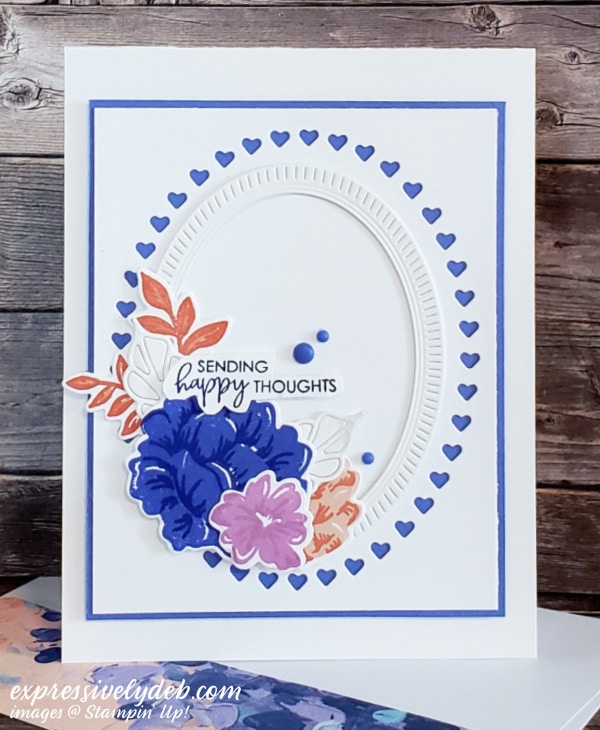
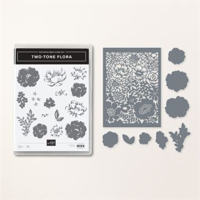
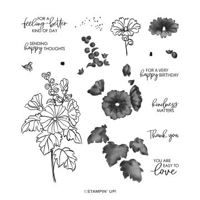
Today’s post is about two-step stamping with the Two-Toned Flora stamp set. My card evolved from the double stamped flowers featured here. The Two-Toned Flora stamp set has no sentiments. It includes 12 flower images designed for stamping in two steps. There are 6 flower base layer images and 6 flower detail images. If you look at the three flowers I stamped, you can see how both a base stamp and a detail stamp make one flower image.
In the card above, I stamped the large flower with Orchid Oasis ink using the flower base stamp.
Then, I stamped the detail image over the flower base with Starry Sky ink (a darker shade in a similar color family).
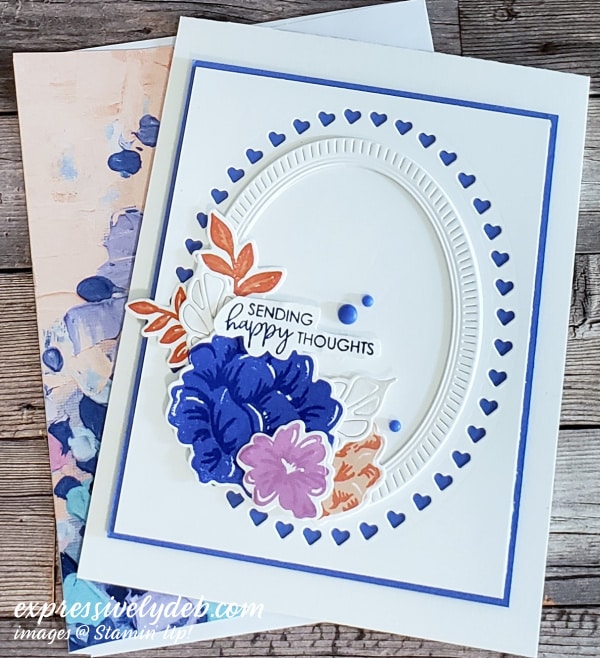
The smaller flower on the right is stamped the same way, using Petal Pink ink for the base and Calypso Coral ink for the detail.
The small flower at the bottom of the frame is stamped with the same ink – Fresh Freesia.
I stamped the base using Fresh Freesia ink, then stamped the detail using Fresh Freesia ink. The detail in this flower is stamped three times with the ink. (My Stamparatus made this very easy).
This process made the detail darker and worked beautifully to highlight the flower detail image.
You can use the same process with any color.
Today’s Card Parts & Pieces
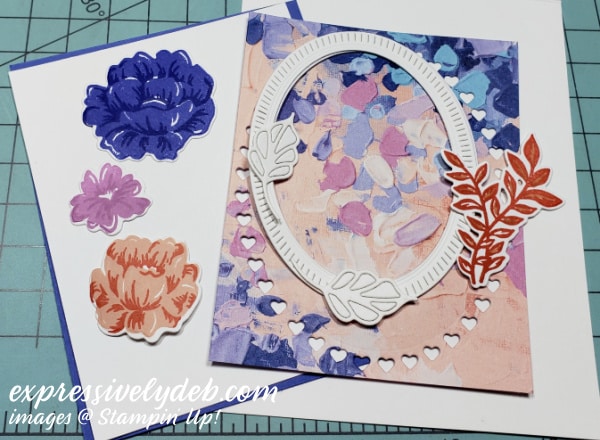
One look at the “Parts & Pieces” image above, you can see I switched the design a bit from start to finish.
I originally used a pattern from the Fancy Flora DSP. When I put the layers and elements together, I thought the patterned paper (although beautiful), took attention away from my flowers. It was an easy fix… I simply removed the patterned paper layer.
The card base is Basic White Thick cardstock cut 4 1/4″ x 11″ and scored at 5 1/2″.
I cut the Starry Sky cardstock layer 3 3/4″ x 4 5/8″.
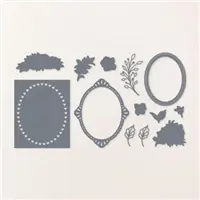
The Basic White top layer measures 3 5/8″ x 4 1/2″. This size is perfect for the oval heart die frame.
I die cut the oval frame using Basic White Thick cardstock.
The flower cluster is attached with glue.
The sentiment is stamped with Orchid Oasis ink and fussy cut.
I embellished with a few Orchid Oasis Matte Dots.
So, make the Two-Toned Flora stamp set your “two-step” stamping go to, experiment with dark and light ink shades, die cut the flowers, and create something to send happy thoughts to someone special.
From now through February 28th, with a product purchase of $50.00 (before shipping and tax), you will receive a FREE Mini Card Kit along with a Video Tutorial link and Project Sheet to help you assemble the cards. The card bases, layers and elements are all included. You add your sentiments and assemble.
February Host Code YPA4DXBJ
If your order is $50.00 (before shipping and tax), please use the Host Code above when prompted. You will receive Rewards from me along with the Mini Card Kit featured above. If your order is over $150.00 (before shipping and tax), please do not use the Host Code. You will receive Stampin’ Rewards. You will also receive Creative Coins and the FREE Mini Card Kit from me.
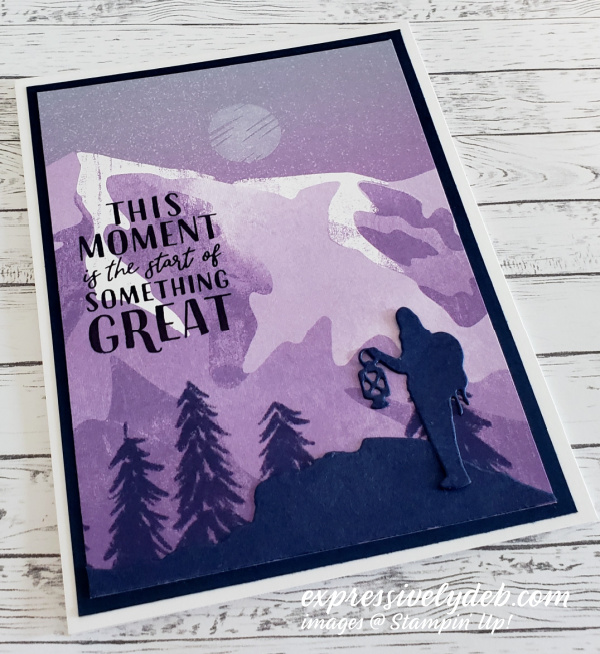
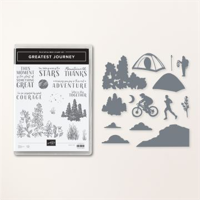
Today’s card is all about creating with Designer Series Paper. The “Enjoy the Journey” Designer Series Paper is graphically beautiful! This paper pack was just added to the Sale-A-Bration promotion. It’s free with a $50 product purchase. I paired the Designer Series Paper with the “Greatest Journey” Bundle which is in the new Mini Catalog on page 58. You canclick here to download a virtual copy of the catalog.
Today’s Card Parts & Pieces
I cut a Basic White card base 4 1/4″ x 11″ and scored at 5 1/2″.
The Night of Navy card layer is 4″ x 5 1/4″.
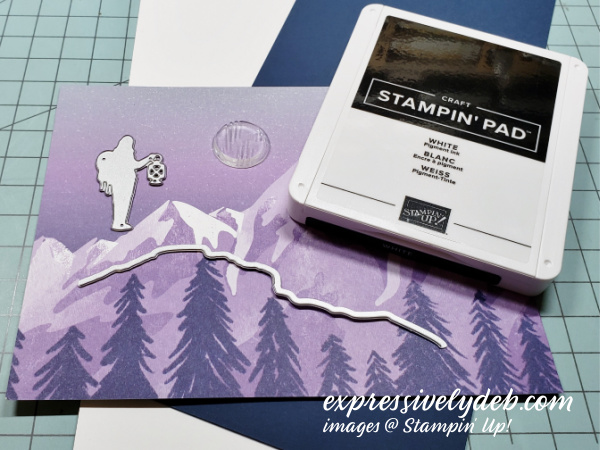
I strategically cut the “Enjoy The Journey” Designer Series Paper layer 3 3/4″ x 5″.
The DSP layer is cut so the highest point of the mountain is away from the mountain climber. The paper is stunning!
I stamped the sentiment directly onto the patterned paper with Night of Navy ink.
The subtle “full moon” image on top of the patterned paper is stamped with White pigment ink.
The mountain climber and small hill at the bottom of the card layer are die cut using Night of Navy cardstock.
These dies are part of the “Greatest Journey” Bundle.
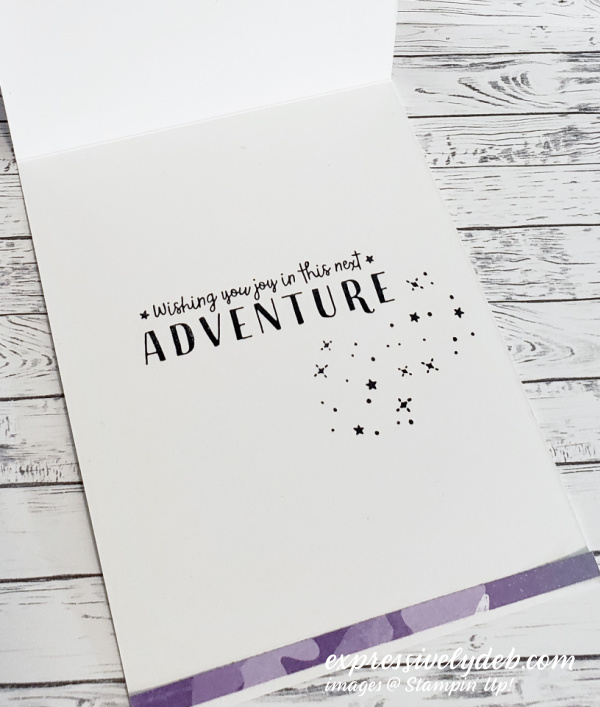
The Inside
I stamped the inside sentiment with Night of Navy ink and added the stamped stars to embellish.
The strip of patterned paper at the bottom of the inside is 1/4″ x 4 1/4″.
There are beautiful desigs in this patterned paper that allow you to create scenes of adventure and also tranquility. Remember, the paper is free. You can purchase the Bundle and add the paper pack.
This is only one of the scenes you can create with the Bundle and paper. There’s much more you can do with the set. Take a look at the catalog images (page 58 and 59). The inspiration is amazing!
So, treat yourself to the “Greatest Journey” Bundle, add the Designer Series Paper, and create quick and easy life adventure and floral scenes of encouragement and gratitude to send to someone special.
From now through February 28th, with a product purchase of $50.00 (before shipping and tax), you will receive a FREE Mini Card Kit along with a Video Tutorial link and Project Sheet to help you assemble the cards. The card bases, layers and elements are all included. You add your sentiments and assemble.
February Host Code YPA4DXBJ
If your order is $50.00 (before shipping and tax), please use the Host Code above when prompted. You will receive Rewards from me along with the Mini Card Kit featured above. If your order is over $150.00 (before shipping and tax), please do not use the Host Code. You will receive Stampin’ Rewards. You will also receive Creative Coins and the FREE Mini Card Kit from me.
I am Debbie Crowley and welcome to my blog. Here you'll find fun projects that are sure to inspire you. I hope you'll stop
by often and leave a comment or two. To contact me, you can email me at: expressivelydeb@gmail.com
Current Catalogs
What are you looking for?
The content of this blog is the sole responsibility of Debra Crowley, expressively deb.com, as an Independent Stampin' Up! Demonstrator. The use of and content of classes, services or products offered is not endorsed by Stampin' Up!