Today’s card is a little different from what I usually do. I’ve been seeing this “Fractured”, or as sone call it, a “Shutter” background design technique. It intrigued me. It looked complicated, but once tried it, I saw how easy and enjoyable it is. I was inspired by many different versions of this design, and decided to create a landscape version with an offset focal point.
So, let’s make a card!
Today’s Card Parts & Pieces
I started with a Moody Mauve cardstock card base cut 5 1/2″ x 8 1/2″, and scored at 4 1/4″.
I cut two Basic White cardstock layers 4″ x 5 1/4″. One for the inside writing layer, and the other for the base of the fractued card front layer.
I die cut a 2 1/8″ square using Basic White cardstock and my Stitched Shapes Dies. The size can vary. Use what you have.
I cut three coordinating patterns from the Earthen Elegance Designer Series Paper. I can’t really give a dimension on the patterned paper. It depends on how you plan to use it. I used the “trial and error” method.
Cut several 1/4″ strips of Moody Mauve cardstock.
Place the die cut Basic White square on the Basic White layer in the spot you plan to have your focal point. Mine is on the right side closer to the top of the layer.
Starting at the top right corner of the square, adhere one of the Moody Mauve strips along the side of the square with a thin line of liquid glue.
Continue to “outline” the square with the cardstock strips.
Trim off hte ends of the strips from the back of the layer.
Follow the same process with the patterned paper. Lay the patterned paper along the edges of the cardstock strips. I found it easier to put the glue directly onto the layer, then place the patterned paper.
Stamp your sentiment, add a few elements and some “dots”.
All done!
You can click the button below to download a quick Tutorial that includes photos.
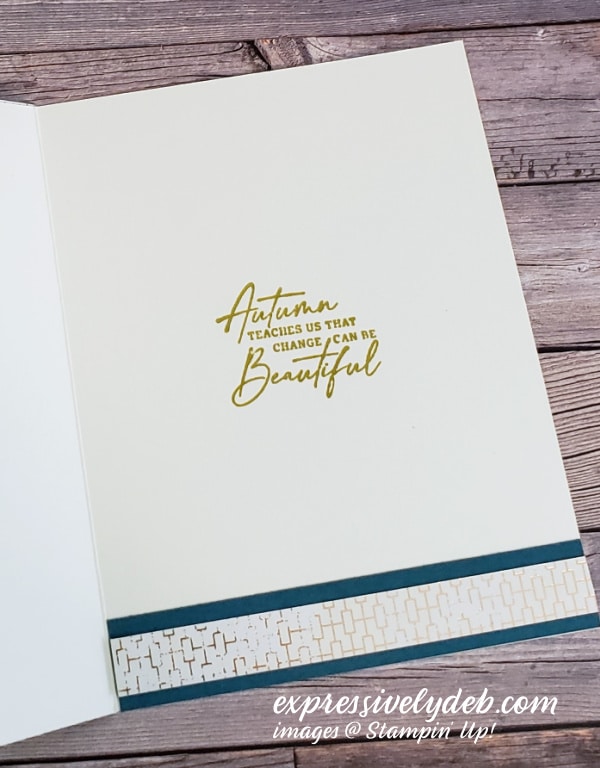
You can stamp a sentiment on the inside of the card and add a stamped image.
So, cut a few cardstock strips, add some pretty patterned paper between the lines, put it all on a card base, and create something fun, easy and impressive!
From August 1st through August 31st, you can take advantage of up to 30% off Stampin’ Up!’s Kit Collection.
August Free Card Kit
You will receive the supplies to assemble these cards above. Along with the cardstock, Designer Series Paper, elements, and embellishments, you will receive a PDF Tutorial with detailed instructions, and a video link to assemble the cards along with me.
For the month of August, there’s no minimum purchase required. You will receive this gift from me with any order you place. Remember, August is the time to redeem your Bonus Days Coupons!
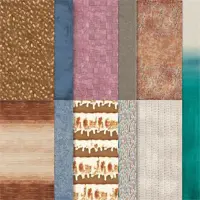
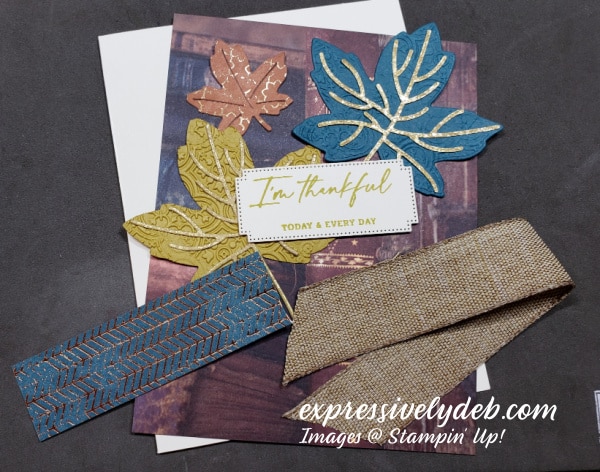
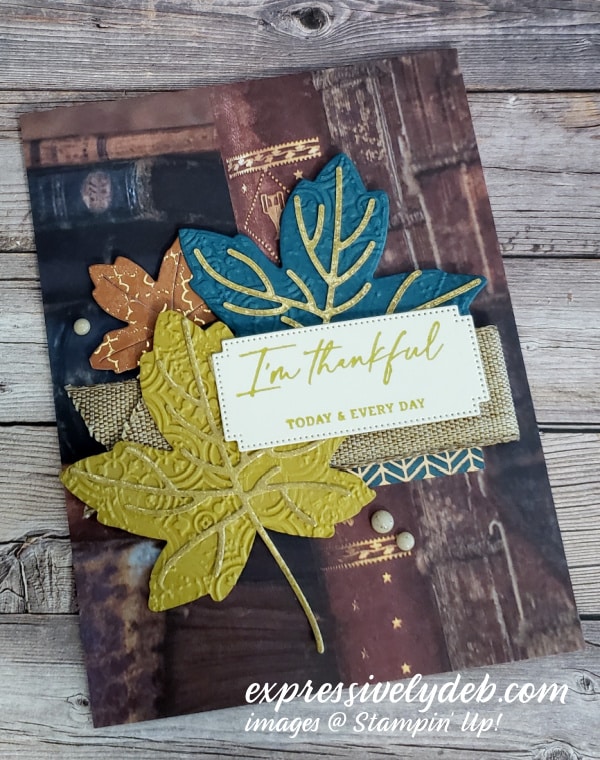
Today’s post is a Sneak Peek of the All About Autumn Suite Collection. A beautiful Suite, full of rich colors and amazing texture. All About Autumn will be available to customers with the launch of the new September-December 2023 Mini Catalog. The card I created to showcase the Suite is a close Catalog Case. I loved the design, colors, and texture the designers at Stampin’ Up! created, so I decided to try it.
To more closely showcase the Suite, I’ve created a Video that will take you through the featured products and you can see how I put this card together. Click the button below to take a tour through the All About Autumn Suite Collection.
Today’s Card Parts & Pieces
This is an easy design to put together. A little embossing, die cutting and layering gives you a design you can duplicate using many products you already own.
I cut a Very Vanilla cardstock card base 5 1/2″ x 8 1/2″ and scored at 4 1/4″.
The Designer Series Paper card front layer is 4 1/4″ x 5 1/2″.
The leaves are die cuts, as is the sentiment layer.
Some embossing and embellishing finished this card nicely.
Click the button below to download a PDF Tutorial with more assembly details.
So, let’s share some gratitude! Find that beautiful Designer Series Paper, add lots of texture, a beautiful sentiment and create something to send to someone special!
From August 1st through August 31st, you can take advantage of up to 30% off Stampin’ Up!’s Kit Collection.
August Free Card Kit
You will receive the supplies to assemble these cards above. Along with the cardstock, Designer Series Paper, elements, and embellishments, you will receive a PDF Tutorial with detailed instructions, and a video link to assemble the cards along with me.
For the month of August, there’s no minimum purchase required. You will receive this gift from me with any order you place. Remember, August is the time to redeem your Bonus Days Coupons!
Here’s my first Sneak Peek, and one of my top ten favorite products from the upcoming September – December, 2023 Mini Catalog.
The Abundant Beauty Decorative Masks is a set of 7 masks that are easily cleaned and ready to use again and again. Four of the masks created this sunflower card, along with ink and Blending Brushes. In addition to this sunflower, you can create three background designs – snowflakes, leaves, and a houndstooth pattern.
The masks are easy to use. I created this sunflower card front using four masks. Below is an outline of the quick step by step process to make this card. I also created a PDF Tutorial with lots of pictures to help you create your own beautiful sunflowers. Click the button below to download the Tutorial.
Today’s Card Color Inspiration
I wanted to create pink sunflowers and used my Color Coach to help guide my color choices. You can download a copy of the current Color Coachhere.
The Blackberry Bliss cardstock cardbase is 8 1/2″ x 5 1/2″ and scored at 4 1/4″ on the 8 1/2″ side.
I cut a Wild Wheat cardstock mat layer 4 1/8″ x 5 3/8″.
The Very Vanilla cardstock top layer is 4″ x 5 1/4″.
The sunflowers are inked with Moody Mauve, Wild Wheat, Blackberry Bliss, and Mossy Meadow ink. I used my Blending Brushes to apply the ink.
The Wild Wheat Jute Trim is available in the Annual Catalog. I used it to create a bow under the sentiment layer.
The die cut sentiment layer is a die from one of the upcoming Product Suites, All About Autumn.
The sentiment is also from the All About Autumn Peoduct Suite.
I used one of the smaller flowers from the sunflower mask to ink an image on the inside of the card.
The Abundant Beauty Decorative Masks will be available for purchase on September 6th. I know you’ll love owning them. Don’t forget to download the PDF “How To” for today’s card. It gives a lot more detail for using these Masks.
So, find some color inspiration, get yourself the Abundant Beauty Decorative Masks, ink up your Blending Brushes, and create your unique work of art!
… the only limitation is your imagination!
Kits + Friends = Fun
From August 1st through August 31st, you can take advantage of up to 30% off Stampin’ Up!’s Kit Collection.
August Free Card Kit
You will receive the supplies to assemble these cards above. Along with the cardstock, Designer Series Paper, elements, and embellishments, you will receive a PDF Tutorial with detailed instructions, and a video link to assemble the cards along with me.
For the month of August, there’s no minimum purchase required. You will receive this gift from me with any order you place. Remember, August is the time to redeem your Bonus Days Coupons!
Today, I’m showcasing the Inked Botanicals Designer Series Paper. The featured cards are the designs I’m including in my Free Monthly Card Kit for August. You will receive the supplies necessary to assemble these cards as I’ve designed them.
Along with the cardstock, Designer Series Paper, elements, and embellishments, you will receive a PDF Tutorial with detailed instructions, and a video link so you can assemble the cards along with me.
For the month of August, there’s no minimum purchase required. You will receive this gift from me with any order you place. Remember, August is the time to redeem your Bonus Days Coupons! It’s a good time to shop for those little incidentals you may need.
It’s Pre-Order Time For Demonstrators
I’ve already had an opportunity to see the new September-December 2023 Mini Catalog. This is one of the Stampin’ Up! Demonstrator perks I most enjoy! I get to see the new trending holiday products, and get my hands on them during the August Pre-Order. If you enjoy the quality and coordination of Stampin’ Up! products, enjoy getting a discount, and being part of a creative community, you can join now, get a head start on holiday creativity, and be part of a wonderful creative community. You can click here for more details.
So, cut a simple cardstock base, add some pretty patterned paper, a few elements and an embellishment or two, and create something to send gratitude or just a “hello”!
… the only limitation is your imagination!
Kits + Friends = Fun
From August 1st through August 31st, you can take advantage of up to 30% off Stampin’ Up!’s Kit Collection.
Hello! Hope you have some fun weekend plans and can spend some time in your craft space.
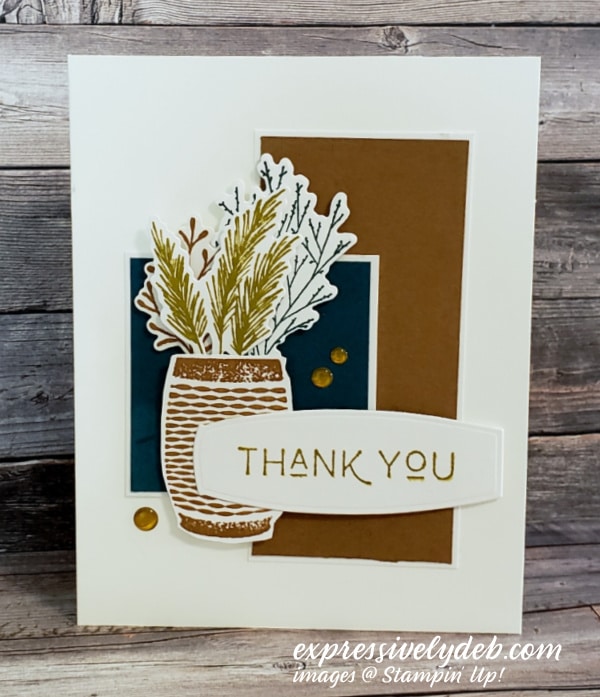
Today’s card is a CAS card. CAS is an acronym for Clean and Simple. A CAS Design has lots of white space, few layers and little or no embellishments.
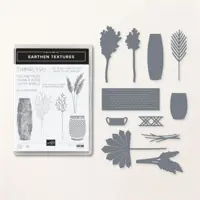
My inspiration for this card was the Earthen Textures stamp set. I focused on stamping the images from the set, die cuttiing them with the coordinsting dies, and then I decided how I would preent them. My first design included a large Pecan Pie circle rather than the rectangle. I thought keeping the design more linear would add a nice contrast to the stamped images, and highlight the lines in the sentiment font. I was pleased with the outcome, and love the color inspiration.
So, let’s make a card!
Today’s Card Parts & Pieces
Cut a Thick Basic White cardstock card base 5 1/2″ x 8 1/2″ and score at 4 1/4″ on the longer 8 1/2″ side.
The Pecan Pie cardstock rectangle is 2″ x 4″.
The Basic White rectangle mat layer is 2 1/8″ x 4 1/8″.
The Pretty Peacock cardstock square is 2 1/4″.
The Basic White square mat leyer is 2 3/8″.
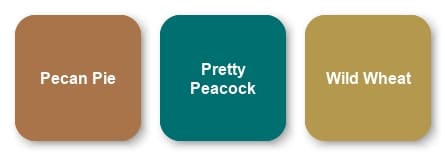
The die cut elements are stamped with Pretty Peacock, Pecan Pie, and Wild Wheat ink.
I stamped the sentiment with Wild Wheat ink and die cut it using the tall vase die from the Earthen Textures Dies.
The cardstock rectangle and square are attached to the card front with glue.
The elements, including the sentiment are attached with Dimensionals.
I added a few Wild Wheat In Color Dots for some sparkle.
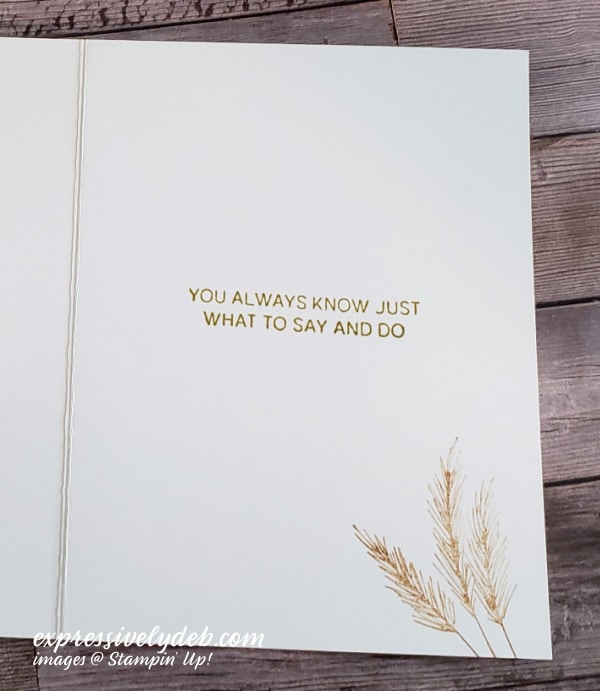
The inside of the card includes a sentiment from the Earthen Textures stamp set, along with a wheat stamped image that I stamped off once.
So, find a fabulous color combination, cut a shape or two, die cut a few elements, add your favorite sentiment and create something warm and contemporary!
From July 1st through July 31st, with a minimum product purchase of $40.00 (before shipping and tax), you will receive my festured FREE Mini Card Kit along with a Video Tutorial link and Project Sheet so you can assemble the cards with me. The card bases, layers and elements are all included. You add your sentiment, and supply your favorite adhesive. July’s Mini Card Kit features the Gorgeously Made Designer Series Paper and Dies. I look foreard to creating these cards with you!
New Online Exclusives Are Here!
Click This Image To Download The Flyer
Bonus Days During July
Click the image above for Bonus Days Details.
Clearance Rack Refresh
The Clearance Rack Refresh includes past holiday themed Bundles. Don’t hesitate, they go fast. Take advantage of the Bonus Days Coupons and my FREE Card Kit of the Month.
Click the image abopve to go to the Clearance Rack Refresh
I am Debbie Crowley and welcome to my blog. Here you'll find fun projects that are sure to inspire you. I hope you'll stop
by often and leave a comment or two. To contact me, you can email me at: expressivelydeb@gmail.com
Current Catalogs
What are you looking for?
The content of this blog is the sole responsibility of Debra Crowley, expressively deb.com, as an Independent Stampin' Up! Demonstrator. The use of and content of classes, services or products offered is not endorsed by Stampin' Up!