Sep 19, 2022 | Clean and Simple, Fall Themed, Gallery, Thinking of You |

Happy Monday to you!
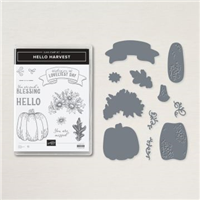
Today I have a Clean and Simple Fall themed card with a little burst of color. I mixed two Bundles for this design – Ringed With Nature and Hello Harvest. I also have a card story.

Today’s Card Story
As you know, I’m an Independent Stampin’ Up! Demonstrator. When I create cards and projects for my Blog, I’m usually showcasing a new Bundle or stamp/die set so you can see some of the products at work and get inspiration at the same time.
There are times, I have an idea in mind and the particular stamp or die set I’m using doesn’t have the elements I want to complete the design. That’s the fun part! I get to go through my product stash and find something that does. Two Bundles equal one project is today’s theme.
So, think about it… always get to know your stamps, dies and patterned paper themes. It’s so much fun to mix and match. And, at the same time, you’re creatoing something that’s truly original!
Today’s Card Pieces And Parts

- Since this is a Clean And Simple card, there aren’t many pieces and parts.
- CAS is the acronym for Clean And Simple. This means lots of white space and few or no layers. Embellishments are usually kept to a minimum, as well.
- I cut a top fold Basic White card base 4 1/4″ x 11″ and scored at 5 1/2″.
- The Designer Series Paper layer is 2″ x 5 1/2″ and is adhered to the left side of the cardbase front.
- The top Basic White layer is 3 12″ x 4 1/2″. All of the card elements and sentiment are on this layer.
- I arranged the oak leaf cluster before attaching it to the card layer. I used small amounts of liquid glue.
- I stamped the sentiment with Tuxedo Black Memento ink, then attached the oak leaf cluster to the card layer.
- The oak leaf cluster is attached with Dimensionals.
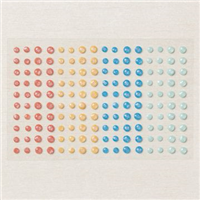
- I added a few Pearl Basic Jewels (Annual Catalog) that I colored with a Dark Cajun Craze Stampin’ Blend.
- And, don’t forget the inside!

So, cut a cardstock base, attach a few layers, add a cluster of oak leaves and a few pearls and creating something to share with someone special.
… the only limitation is your imagination!


Weekly Deals for the week of September 15th through September 21st.

Sep 12, 2022 | Fall Themed, Gallery, Quick & Easy, Thinking of You |

I often get inspired to mix and match elements, stamp sets, dies and Designer Series Paper. That’s what this card is. It’s a menagerie of products that I think would make some great Fall “happy mail”.
Today’s Card Story
- Being overdue for a slimline card, the idea of one was my inspiration.
- I don’t have a “Pieces and Parts” photo today. When I remembered to take one, I already glued the leaves to the patterned paper layer.
- That isn’t so horrible, but I used the last of my Leaf Label tags.
- This one’s simple enough that I know the “visual” won’t make a difference for your inspiration.
- If you don’t have the Leaf Label tags and want to duplicate this design, find a large element and go with it.
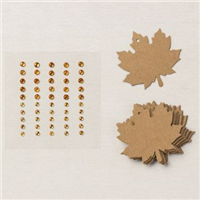
- The size of the maple leaves is approximately a 2″ square.

Here’s How I Did It
- My preference for a slimline design is what I call a “Mini Slimline”.
- The card measures 3 1/2″ x 7″, and fits perfectly into a Monarch size envelope.
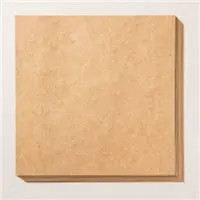
- The Crumb Cake cardstock base is a 7″ square, scored at 3 1/2″.
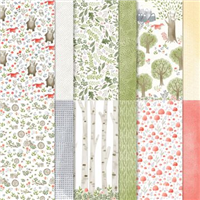
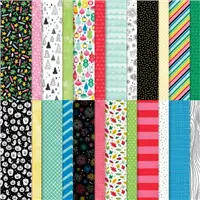
- The patterned paper layer is 3 1/4″ x 6 3/4″.
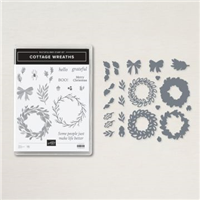
- I die cut a bunch of leaf sprays using the Country Wreaths Dies and my Mini Stampin’ Cut & Emboss machine. It’s so easy to die cut lots of little pieces with the Mini cutting machine. I sat it in front of me and cut.
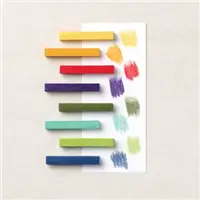
- I used scraps of Mossy Meadow, Cherry Cobbler, Crushed Curry, Old Olive, and Poppy Parade for the small leaf die cuts.
- Simply attach the larger elements first (in this case, it’s the maple leaves), and arrange your smaller die cuts around the front of the card.
- I enjoyed not only arranging the leaf sprays but also mixing in the Fall colors.
- Have fun with your elements.
- I stamped the sentiments from the Cottage Wreath stamp set with Cherry Cobbler ink and added a few Amber Gems for some sparkle.

So, find three large die cut elements, scatter some small, fun shapes around, add a sentiment and a little sparkle and create some “happy mail” !
… the only limitation is your imagination!
Today’s Product Details
New Weekly Deals – Week of September 8th
Sep 8, 2022 | Fall Themed, Gallery, Quick & Easy, Thank You |

Today’s card is a quick and easy thank you with a fun Fall theme.
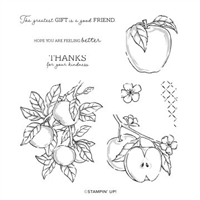
There are times I sit down to make a few cards and when I least expect it, something will inspire me. We all have a personal creative process, and I’m sure you get surprises, as well. The Fall themed Designer Series Paper inspired me today. I was working on another project and when I saw this pattern, I immediately thought a Granny Smith apple would be great with it. I actually stuck a sticky note to the paper to remind me to pair it with the Apple Harvest Bundle. The rest of the design just happened.
Today’s Card Pieces & Parts

- I chose a Basic White top fold card base cut 11″ x 4 1/4″ and scored at 5 1/2″.
- The Granny Apple Green cardstock layer is 4″ x 5 1/4″.
- The patterned paper layer is 3 3/4″ x 5″.
- I cut the long narrow layer 1″ x 3 1/2″. This strip makes a good anchor for my focal point.
- The small Basic White layer is 2 5/8″ x 2 1/4″.
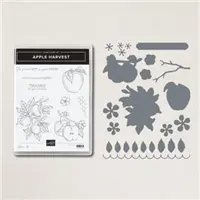
- I stamped the apple with Tuxedo Black Memento ink onto Granny Apple Green cardstock and die cut with the matching die.
- I stamped the diamond pattern on the layer with Crushed Curry ink.
- This is one of the stamp images in the Apple Harvest stamp set.
- Since I previously stamped and die cut my apple, I used it as a guide for the placement of the diamond patterned image.
- I added color to the apple leaves with a Dark Shaded Spruce Stampin’ Blend.
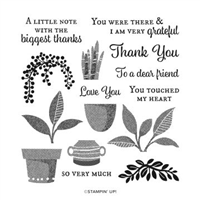
- The sentiment is from the Plentiful Plants stamp set. I think the font and size of the sentiment work well with the pattern paper.

This design would work well for a Fall “Happy Birthday”, or just to say hello.
So, find that great piece of patterned paper, top it off with a Granny Smith apple, add a clean, crisp sentiment, and create something cheerful!
… the only limitation is your imagination!
Today’s Product Details
Stampin’ Up! Notes & News
New Weekly Deals – Week of September 8th
Weekly Deals – Week of September 1st
Sale: $12.00
Price: $15.00
Sale: $27.20
Price: $34.00
Aug 26, 2022 | Clean and Simple, Fall Themed, Gallery |
Happy Friday! I hope you have some crafting time planned for your weekend.
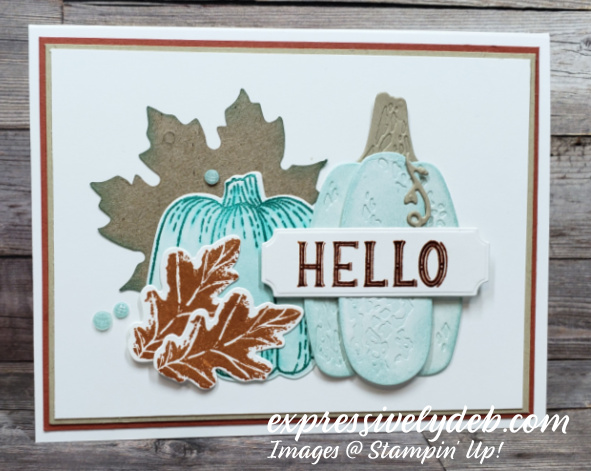
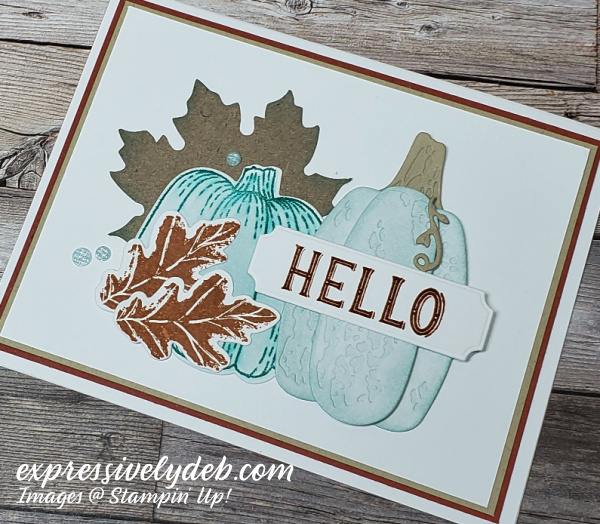
Today’s card is a simple Fall hello showcasing the Rustic Harvest Bundle. The deep color tones in this Product Suite are warm and inviting, but I went in a slightly different color direction. I’ve always admired the Crumb Cake and Bermuda Bay color combination, and today I added Soft Sky and Cajun Craze. Hope you like the color switch.
Today’s Card Pieces And Parts
- Naturally, I have layers!
- The Basic White card base is 5 1/2″ x 8 1/2″, scored at 4 1/4″ on the 8 1/2″ side.
- The Cajun Craze layer is 5 1/4″ x 4″.
- I cut the Crumb Cake layer 5 1/8″ x 3 7/8″.
- The Basic White top layer is 5″ x 3 3/4″.
- All the elements except for the maple leaf are die cut using the Rustic Pumpkin Dies.
- I stamped the pumpkin on the left with Bermuda Bay ink and used my Blender Pen to add some color.
- The tall pumpkin is die cut using Basic White cardstock. I used Soft Sky ink and a Blending Brush to add color to it.
- The maple leaf is one of the Leaf Tags from the Rustic Harvest Suite.
- Once I had all of my elements inked and die cut, I arranged them on the card front.
- A few Fine Sparkle Adhesive Gems embellish the card front.
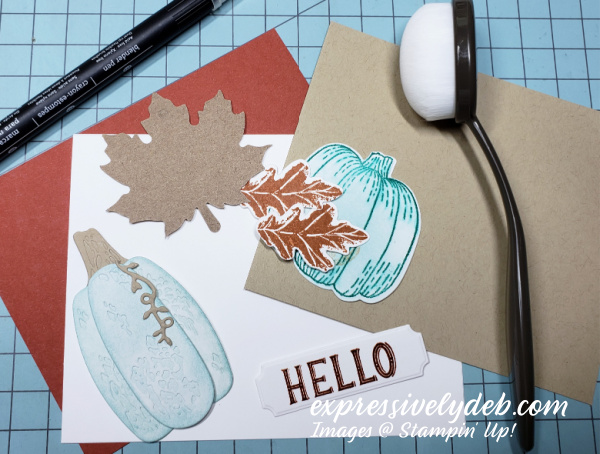
Coloring Tips and Tricks
- Using a blender Pen is a quick and easy way to add a little color to a stamped image.
- Once you stamp the image, simply pull the color from the stamped lines to create a light shading.
- I inked the edges of the maple leaf with Bermuda Bay ink and a Sponge Dauber.
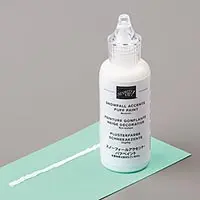
- Using a Sponge Dauber to add ink to a cardstock edge is a quick and easy way to give a layer, sentiment banner, or image some dimension without using Dimensionals.
- You can also quickly and easily shade a stamped image with ink and a Sponge Dauber.
So, grab your Blending Brush, Blender Pen and a Sponge Dauber, and add a little accent color to some pretty pumpkins!
… the only limitation is your imagination!
Today’s Product Details
STAMPIN’ UP! NOTES & NEWS
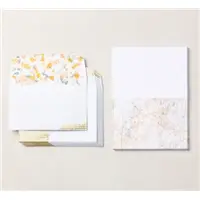
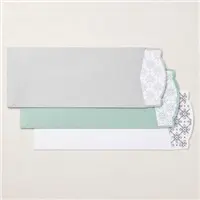
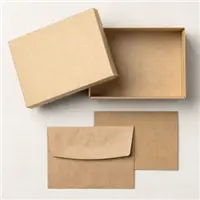
- The Pool Party and Soft Sea Foam Notes And Envelopes and the Tree Lot Dies from the Sale-A-Bration Brochure are no longer available.
- Stampin’ Up! has made more products available for FREE with a qualifying purchase so we all can continue to enjoy the benefits of Sale-A-Bration.
- Click the flyer below for details.

DON’T FORGET TO SALE-A-BRATE NOW THROUGH AUGUST 31ST

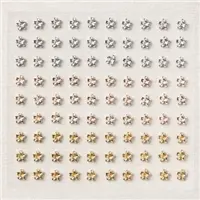
A FREE GIFT FROM ME
FESTIVE PEARLS WITH A MINIMUM OF $50.00 PRODUCT PURCHASE

Aug 17, 2022 | Clean and Simple, Fall Themed, Gallery, Thank You |

Fall is just around the corner. Our New Jersey heat wave finally broke. Still no rain, though. A change of season is very much on my mind so I’m showcasing the Apple Harvest Bundle.
The Apple Harvest stamp set is in the July – December 2022 Mini Catalog without coordinating dies. Starting September 1st through September 30th, you can purchase the stamp set and Apple Blossom Dies as a Bundle and save 10%.
Today’s card is a quick, clean, and simple card using the Apple Harvest stamp set and upcoming Apple Blossom Dies.

The stamps in the Apple Harvest stamp set are open stamps. If you like to color, you will enjoy them. I loved the images in this stamp set, so I thought about adding color with sponge daubers. I tried it and am happy with the shading of the apples. You’ll love the sponge dauber technique.
The Apple Harvest Bundle is available on September 1st.

Today’s Card Pieces And Parts

- My original version of this card includes a Garden Green cardstock layer. You can create your card using an additional layer. A Sweet Sorbet or Poppy Parade layer would be pretty, as well.
- The Basic White card base is 4 1/4″ x 11″, scored at 5 1/2″.
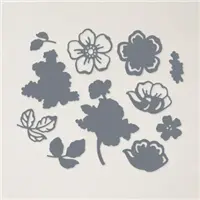
- The smaller Basic White layer is 2 3/4″ x 4″. Die cut the bottom of this layer using the scalloped die from the Apple Blossom Dies.
- The sentiment layer is 1″ x 2″.
- Stamp the sentiment with Real Red ink.
- Die Cut the bottom of the sentiment layer with the scalloped die from the Apple Blossom Dies.
- I cut the Garden Green Gingham Cottage Designer Series Paper layer 2 5/8″ x 4″.
- Die cut the bottom of the patterned paper layer with the scalloped die, as well.
Color and Assemble The Card
- Stamp two apples with Soft Suede ink onto Basic White cardstock.
- I used Old Olive and Garden Green ink for the apple leaves, Real Red and Sweet Sorbet ink for the apples, and Soft Suede for the stem.
- I know the coloring is not perfect. It’s a fun process to ink up the sponge daubers and fill in the color. It’s quick, as well.
- Using the ink and sponge daubers made me feel like a genuine artist! You will, too!
- I die cut the apples with the coordinating die.
- I attached the small Basic White, and Gingham Cottage scalloped layer with Dimensionals.
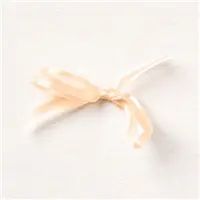
- The Linen Thread background is simply a few wraps of thread around my fingers, crimped in the center with a large glue dot and attached to the card layer.
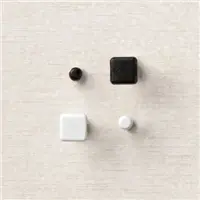
- I attached the apples and sentiment with Dimensionals and added a few Classic Matte Dots.

So, cut a simple card base, add Linen Thread, “sponge” some apples and create something to show gratitude.
… the only limitation is your imagination!
Today’s Product Details
STAMPIN’ UP! NOTES & NEWS
- The Pool Party and Soft Sea Foam Notes And Envelopes and the Tree Lot Dies from the Sale-A-Bration Brochure are no longer available.
- Stampin’ Up! has made more products available for FREE with a qualifying purchase so we all can continue to enjoy the benefits of Sale-A-Bration.
- Click the flyer below for details.
DON’T FORGET TO SALE-A-BRATE NOW THROUGH AUGUST 31ST
A FREE GIFT FROM ME
FESTIVE PEARLS WITH A MINIMUM OF $50.00 PRODUCT PURCHASE